

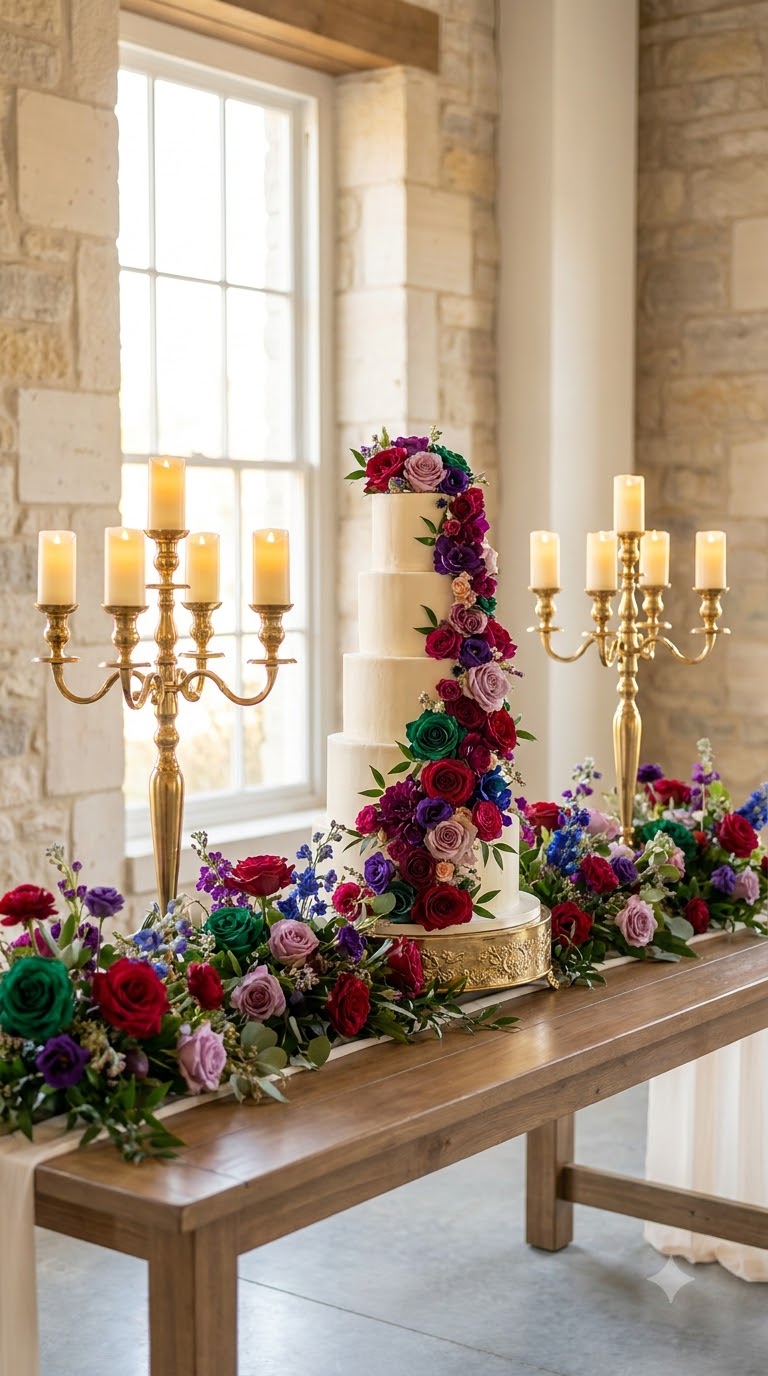
Every mom planning a first or third birthday for her little guy hits the same wall: she wants something that feels grand, not glued together at midnight. That’s exactly where a set of royal prince birthday theme ideas earns its keep. You don’t need a professional decorator or a five figure budget to make a one year old look like he’s holding court. What you need is a handful of the right pieces, placed with intention, so the room reads “royal” the second someone walks in.
This list skips the vague inspiration boards and gets specific. Each idea below is something you can actually build this weekend: a backdrop you can tape up in an afternoon, a dessert table you can style with items from the craft store, a game that keeps six toddlers busy for twenty minutes straight. Some ideas lean elegant, some lean playful, and a few are built for guests who want a photo they’ll actually save.
Grab a coffee, and let’s start crowning this party.
1. Set Up A Velvet Throne Chair As The Star Photo Spot
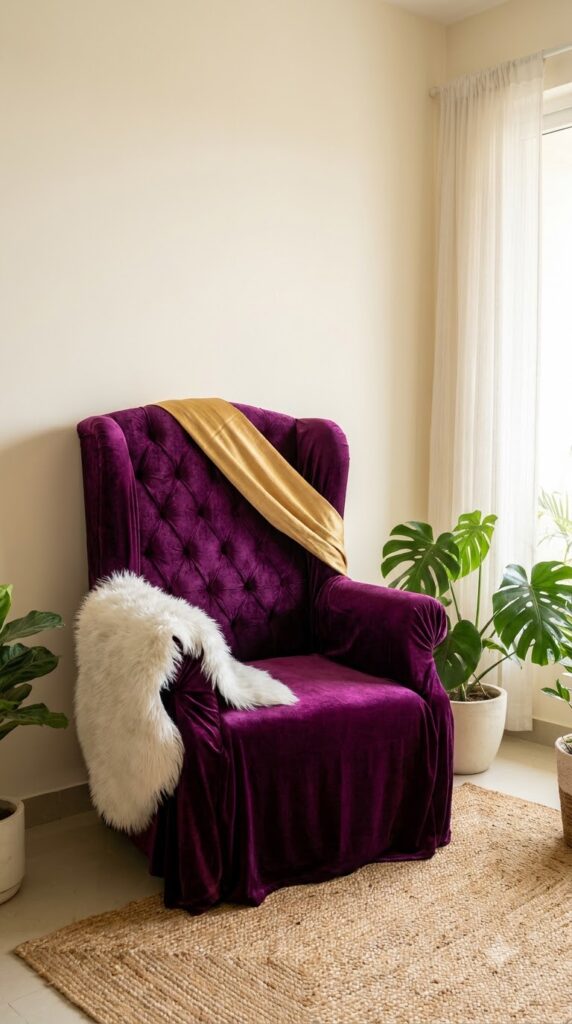
A tufted armchair draped in deep purple or navy fabric turns into the most photographed seat in the house the moment you add a gold sash across the back. Skip renting an actual throne. A regular armchair from your living room works fine once it’s dressed up.
What makes the shot work:
- A faux fur throw over one arm
- A pillow with a crown motif
- A small side table with a scepter prop within reach
Set it against a plain wall so the chair does the talking. This is where every guest, not just the birthday boy, will want a turn.
2. Build A Crown Backdrop Wall From Fabric And Paper Crowns
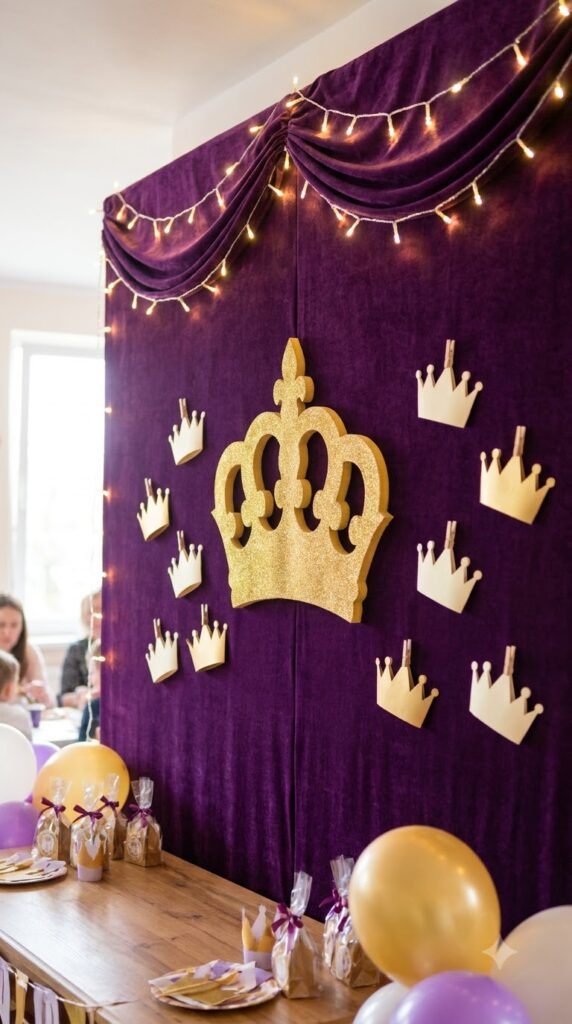
Start with two yards of deep purple fabric pinned across a blank wall in a soft drape, then anchor the middle with a large gold foam crown cut from poster board.
- Pin the fabric loosely so it catches light instead of lying flat
- Add five or six paper crowns of different sizes around the main one
- Tuck a string of warm white lights behind the top fold
The whole thing packs flat afterward, so it’s easy to reuse for next year’s photos too.
💡 Quick Tip
Use painter’s tape, not regular tape, so you don’t strip paint off the wall when you take the backdrop down.
3. Style A Castle Shaped Cake As The Table Centerpiece
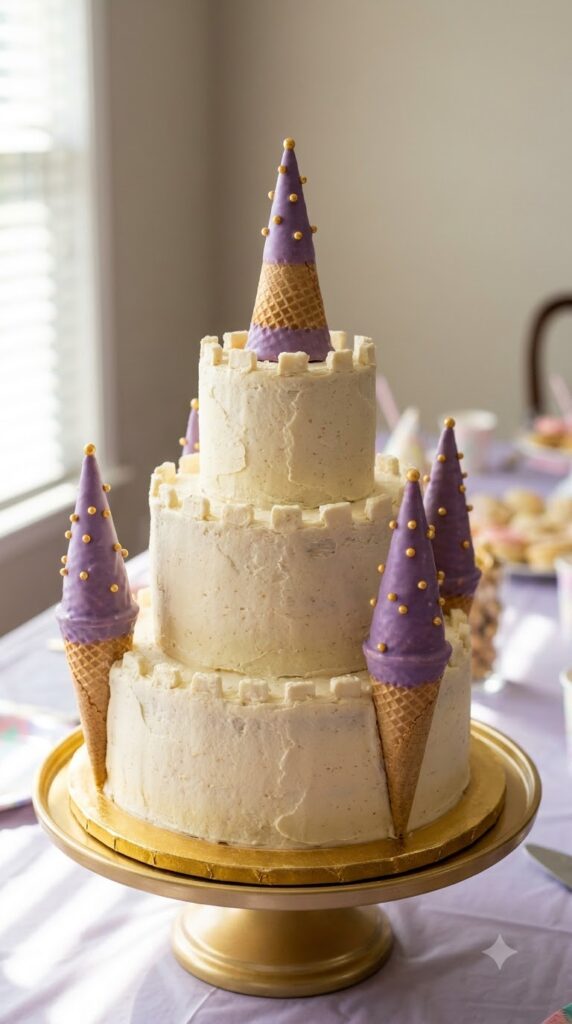
A plain round cake gets lost on a dessert table full of gold chargers and jewel toned linens. A castle shape solves that instantly, and it’s simpler than it looks.
Stack two or three cake tiers, then push ice cream cones dipped in purple candy melts into the top of each layer as turrets. Add a few edible gold pearls at the base of each cone. You don’t need fondant skills or a piping course, just cake, cones, and candy melts.
A single round cake on a plain stand.
A three tier castle cake with turret cones and gold pearls.
4. Roll Out A Red Or Purple Carpet Entrance
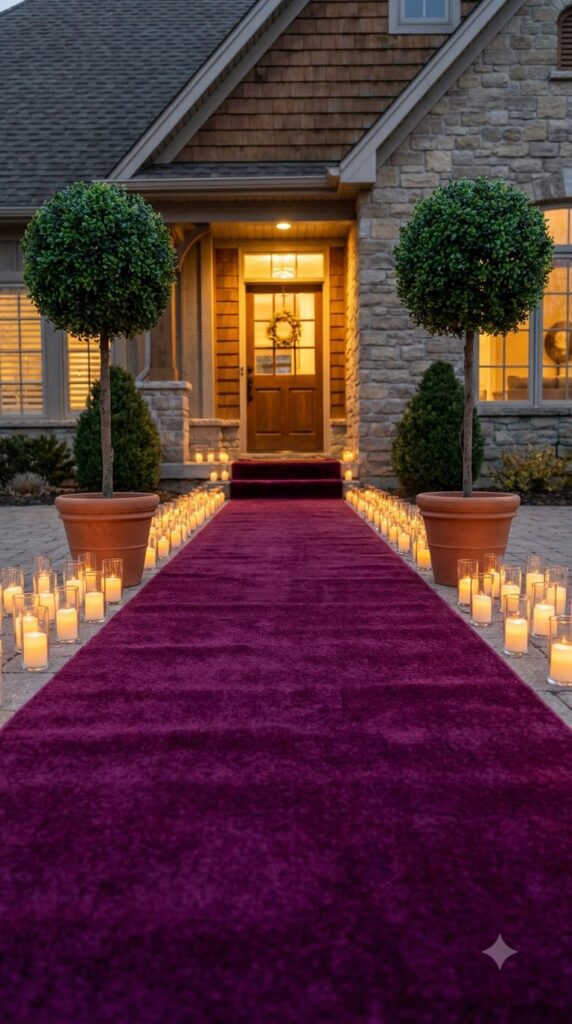
Guests know they’re at something special the second they step off a rolled out runner and see two faux topiary trees flanking the door.
A basic fabric runner from the party aisle does the job. Line the edges with battery votives once the sun starts to set. Kids especially love pausing here for a photo before they even reach the party.
Measure your entry path before buying the runner.
Secure the runner’s edges with double sided tape.
Add battery votives along the edges once it gets dark.
5. Skip The Dragon Bounce House And Rent A Castle Instead
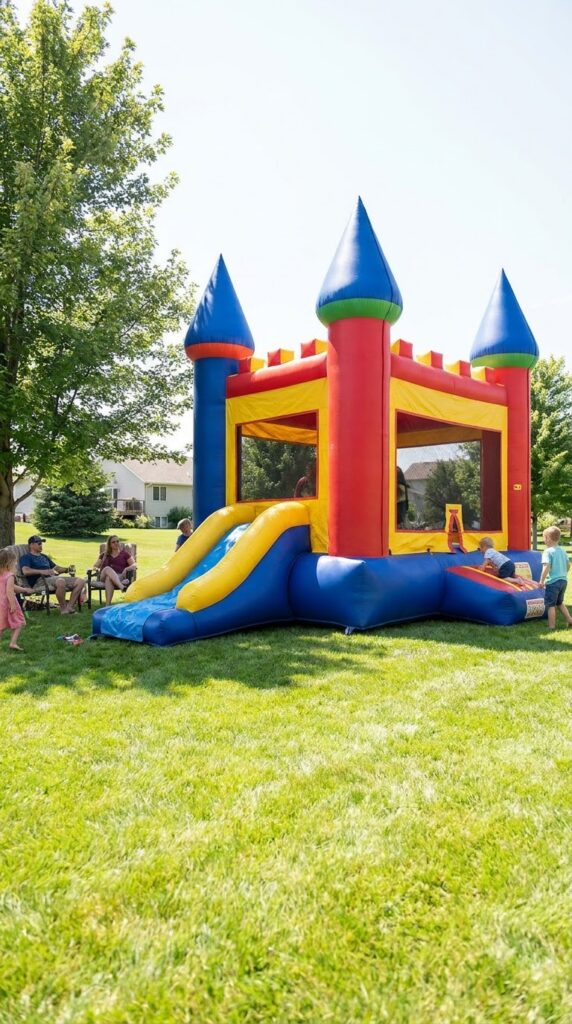
Most party rental sites push the same handful of generic bounce houses, but a castle shaped one exists at nearly every rental company and rarely costs more.
The difference is entirely visual. A plain bounce house photographs like any other party. A castle one, especially with turret peaks and a drawbridge entrance, matches the whole theme without you decorating it at all. Call ahead, since the castle style tends to book first for spring and early summer weekends.
Book the castle bounce house 3 to 4 weeks ahead.
Ask specifically for one with turret peaks.
Waiting until the week of the party.
Settling for a generic style just because it’s cheaper.
6. Set Out A Craft Station So Every Guest Makes Their Own Crown
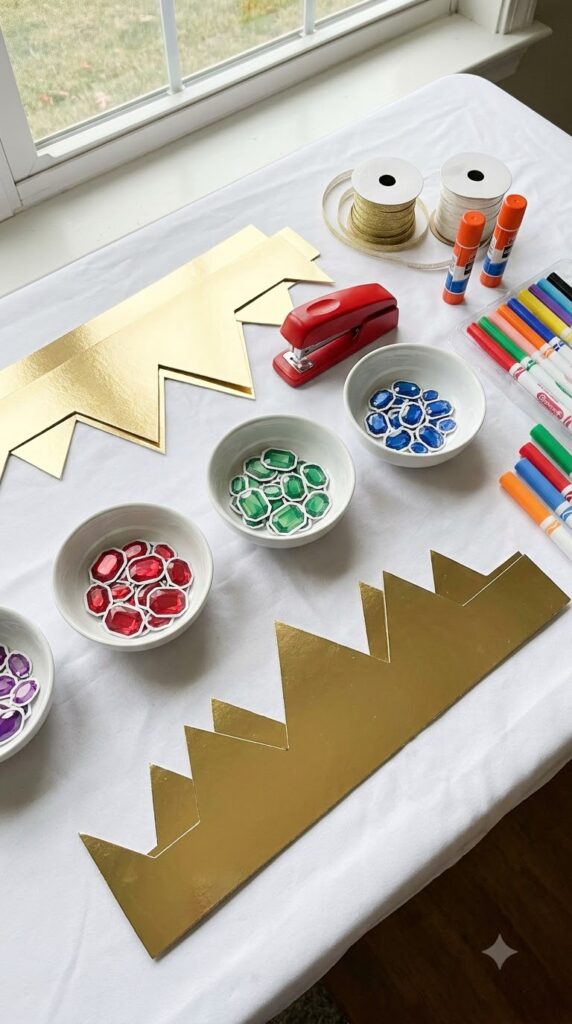
By the time the third kid sits down at the craft table, there’s already a small pile of gold glitter on the floor, and that’s exactly how you know the station is working.
Keep the setup simple so kids under six can finish without help. Precut gold poster board strips, add stickers shaped like gems, and let a parent staple each crown to fit. It doubles as the party favor, so guests leave wearing proof they were there.
What to grab first
7. Design A Royal Court Dessert Table With A Banquet Feel
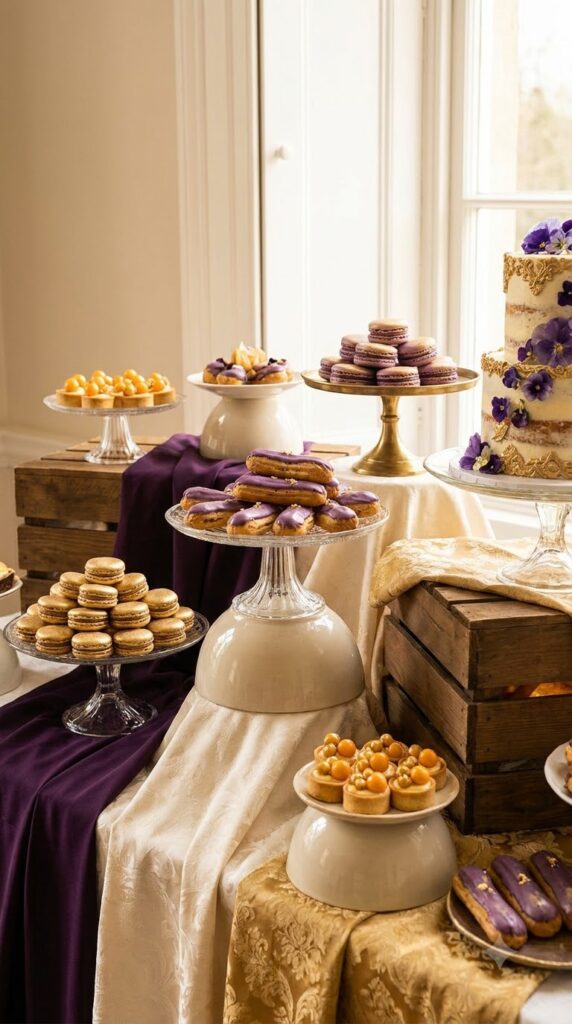
A dessert table with everything lined up flat looks fine. One built at different heights looks like a spread fit for a small king.
Use cake stands, upside down bowls under fabric, and a few wooden crates to stagger height across the table. Group treats by color instead of by type, so purple macarons sit near purple rock candy instead of next to orange cookies. The eye reads it as one cohesive scene rather than a buffet line.
Height and color grouping do more for a dessert table than any single fancy treat.
8. Compare Store Bought Vs DIY Scepter Party Favors
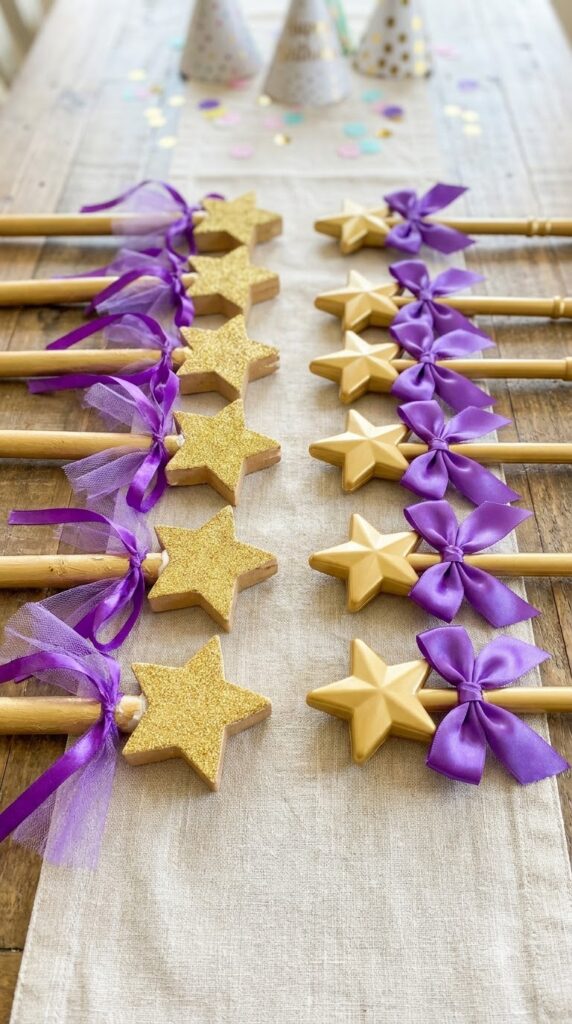
Scepters show up at most party stores already gold and glittery, but a DIY version costs less and matches your exact palette.
Store bought ones save time and look consistent across a full guest list. Homemade versions, built from a dowel, a foam star, and ribbon, cost about a third as much and let you match the fabric from your backdrop exactly. For a group under ten kids, DIY is worth the hour. Past that, buy them.
| Store Bought | DIY |
|---|---|
| Cost: medium to high | Cost: low |
| Time: none | Time: about 1 hour |
| Consistency: high | Consistency: medium |
9. Add A Jeweled Goblet Drink Station For A Royal Sip
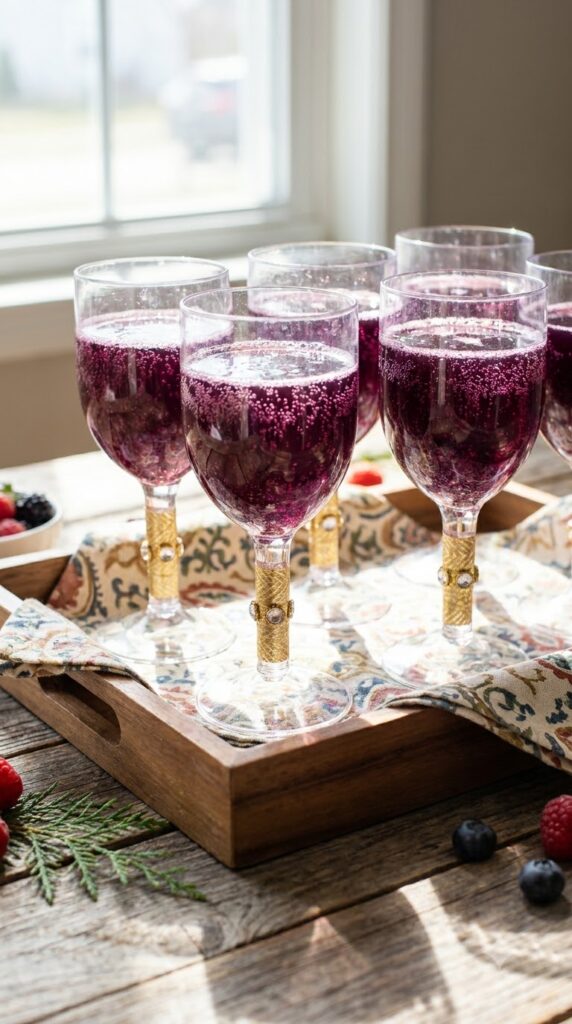
Buy plastic wine goblets from the party aisle, wrap the stems in gold washi tape, and fill them with a purple juice blend that looks fancier than it is.
Grape juice mixed with a splash of sparkling lemonade turns a deep violet and fizzes slightly, which reads as a fancy mocktail to a room full of five year olds. Set the goblets on a tray lined with fabric so nobody has to hunt for a matching cup.
10. Print A Royal Proclamation Instead Of A Standard Invitation
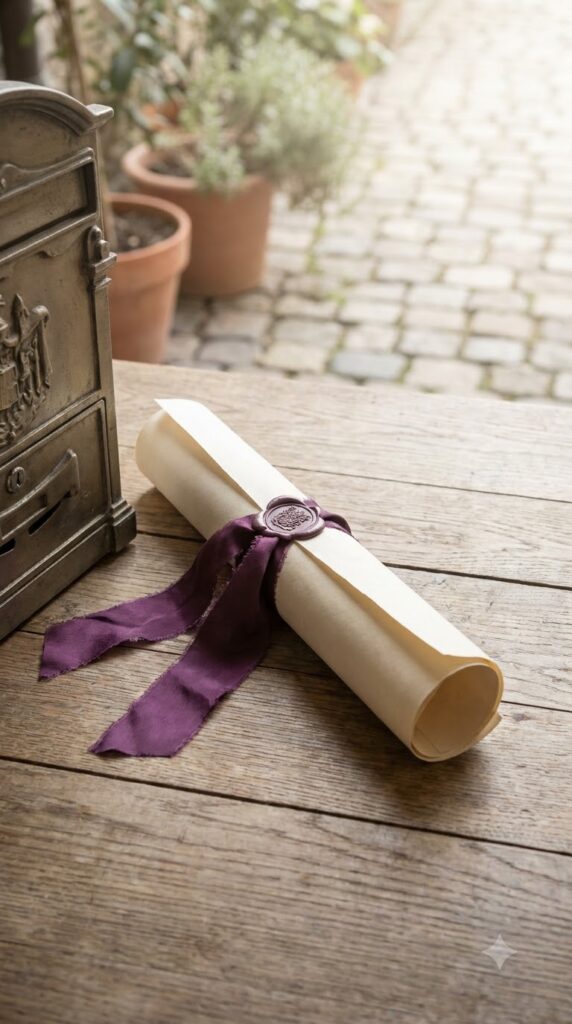
Most invitations get skimmed in five seconds and tossed in a bag. A proclamation format, rolled like a scroll and tied with ribbon, gets opened slower and remembered longer.
Write the details in a formal announcement style, something like “by royal decree, you are cordially invited.” Print on cream or ivory cardstock so it already looks aged and important. Roll it, tie it with a purple ribbon, and mail it in a plain envelope so the reveal happens at the mailbox.
📌 Good To Know
Order cardstock a week early. Standard printer paper won’t hold a scroll shape once it’s rolled.
11. Arrange A Royal Court Seating Circle With Floor Cushions
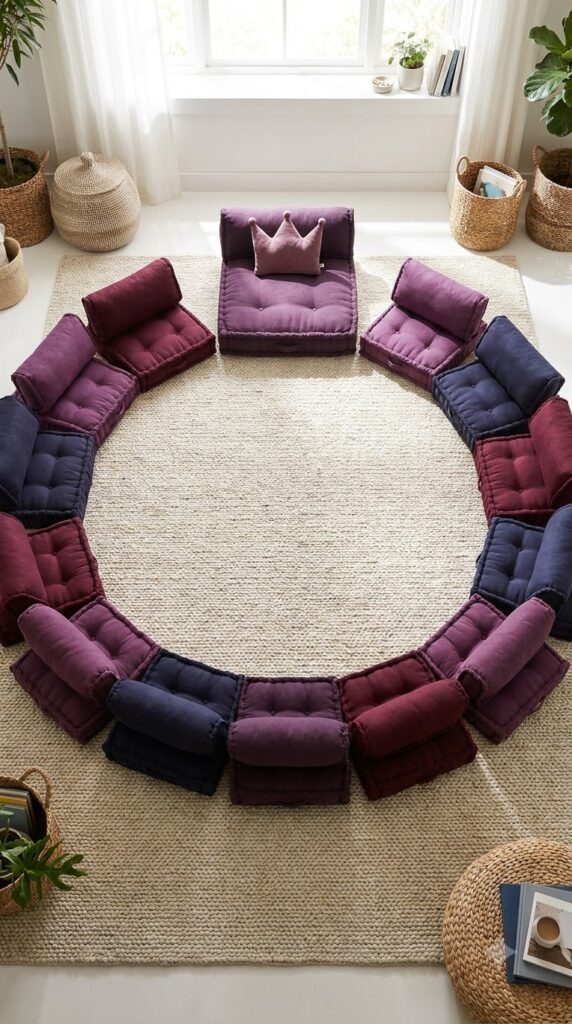
A circle of low floor cushions in jewel tones gives younger kids somewhere to sit for cake time without needing a full table setup.
Mix purple, burgundy, and navy cushions so the seating itself becomes part of the decor instead of an afterthought pulled from a closet. Set the birthday child’s cushion slightly larger, or add a small crown pillow, so his spot stands out without anyone having to point it out.
12. Run A Royal Quest Scavenger Hunt Through The Party Space
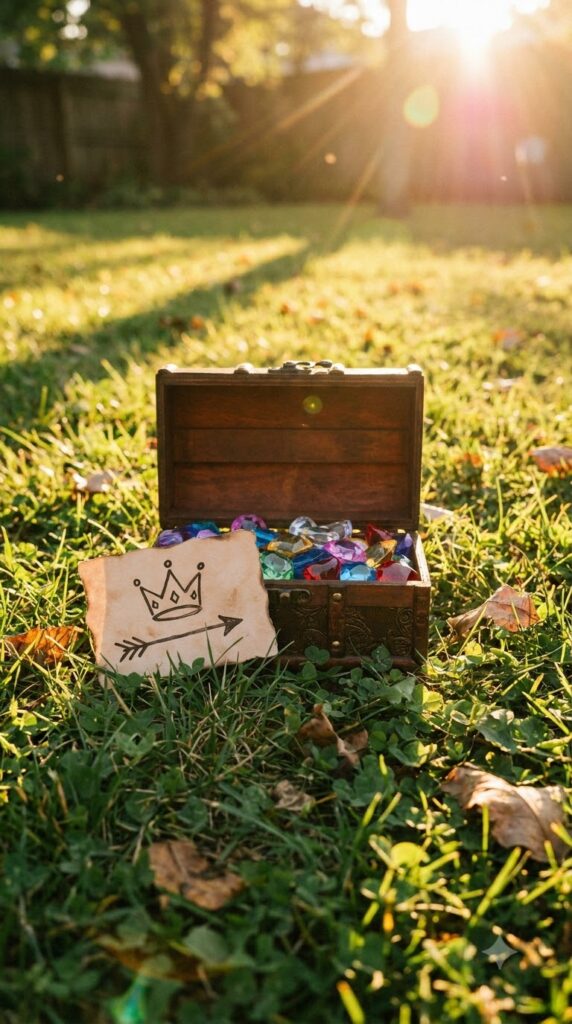
Hide five or six small treasure items around the yard or party room, then hand each kid a simple picture clue card instead of a written one so nonreaders can play too.
The prize at the end can be a small chest of plastic gems, split evenly so nobody argues over who found more. Keep the path short for a birthday crowd, since attention spans under six years old rarely last past ten minutes.
Hide items in 5 to 6 spots around the space.
Hand out picture clue cards instead of written ones.
Gather everyone at the treasure chest to split the gems.
13. Turn A Plain Cake Table Into A Banquet Scene With Candelabras
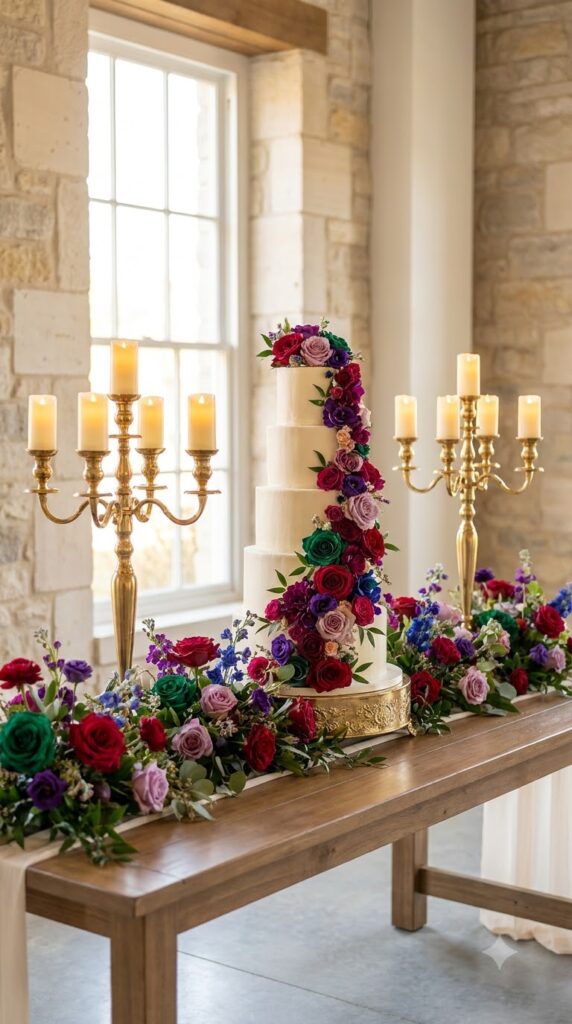
A single tablecloth and a cake looks like most other kids’ parties. Add two faux gold candelabras with flameless candles and the same table suddenly reads as a small banquet.
Battery candles matter here since a room full of toddlers and real flames don’t mix. Place one candelabra on each side of the cake, then fill the space between with loose jewel toned flowers, either real or silk, so the table has height on both ends instead of just the middle.
A cake alone on a bare tablecloth.
A banquet style table with candelabras and flowers framing the cake.
14. Pack A Knight And Dragon Corner For Older Cousins And Siblings
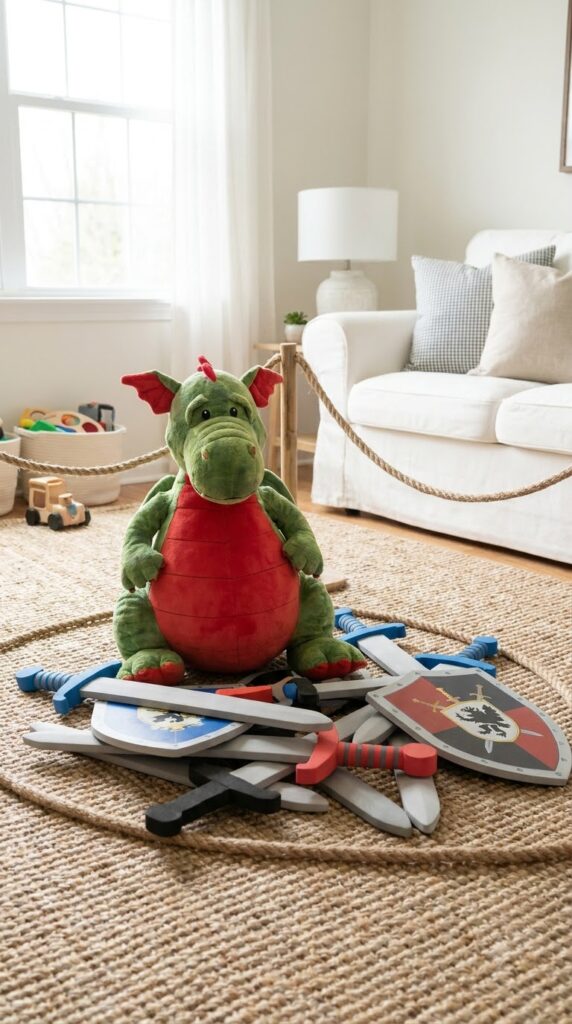
Not every guest at a prince themed party is under four. Older siblings and cousins tend to wander off within the first fifteen minutes if there’s nothing built for them specifically.
A small corner with foam swords, shields, and a stuffed dragon to “battle” keeps that age group occupied without pulling focus from the birthday child’s main activities. It doesn’t need to be elaborate, just separate enough that it feels like its own zone.
What to grab first
15. Skip Loose Balloons And Build A Structured Gold Arch Instead
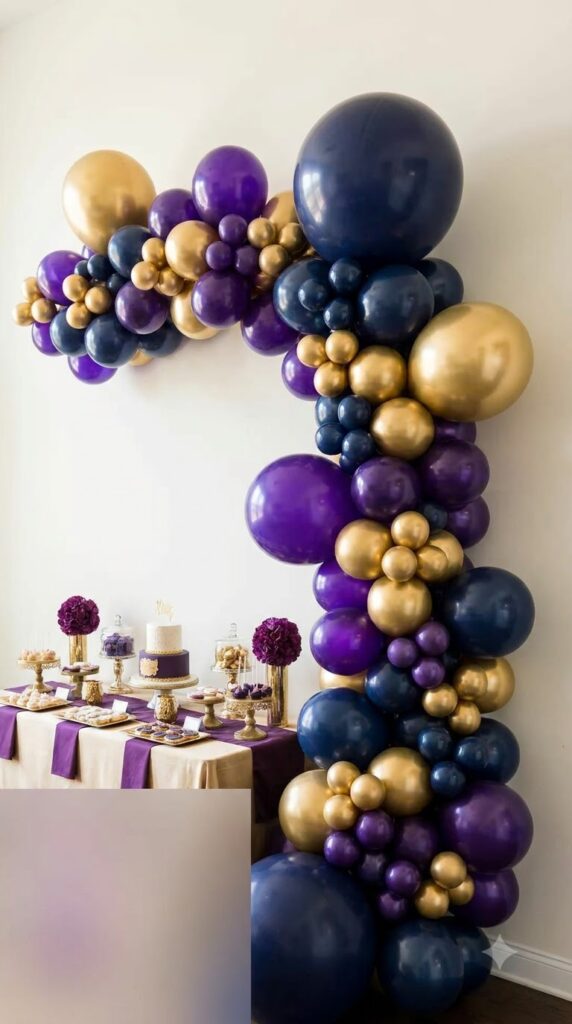
A handful of balloons taped to a wall reads as an afterthought. A balloon arch, even a small tabletop one, reads as designed, and it takes less time than most people expect.
Mix gold, deep purple, and navy balloons in three sizes along a balloon strip, then anchor the base with a hidden weight so it holds its arch shape through the whole party instead of drooping by hour two.
Mix 3 balloon sizes along the strip.
Anchor the base with a hidden weight.
Using only one balloon color.
Skipping the weighted base.
16. Line The Buffet With A Simple Royal Menu Sign
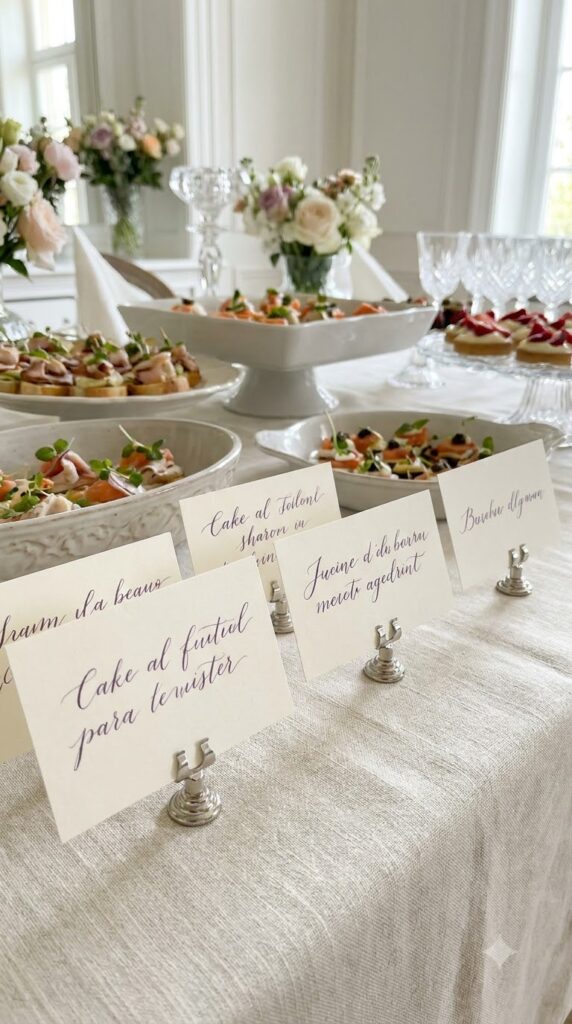
Rename a few dishes on handwritten place cards and the whole buffet feels more intentional without changing a single recipe.
Chicken nuggets become “royal golden bites.” Fruit skewers become “jewels of the kingdom.” It costs nothing but a marker and a few index cards, and kids genuinely notice the difference even if they can’t explain why. Keep the names short enough to read from across the table, and match the card color to your palette so they blend in instead of standing out as an obvious sign.
- ▸Rename dishes with playful royal titles.
- ▸Use index cards in your party’s palette color.
- ▸Set each card at a slight angle for a candid look.
17. Plan A Short Knighting Ceremony As The Party’s Big Moment
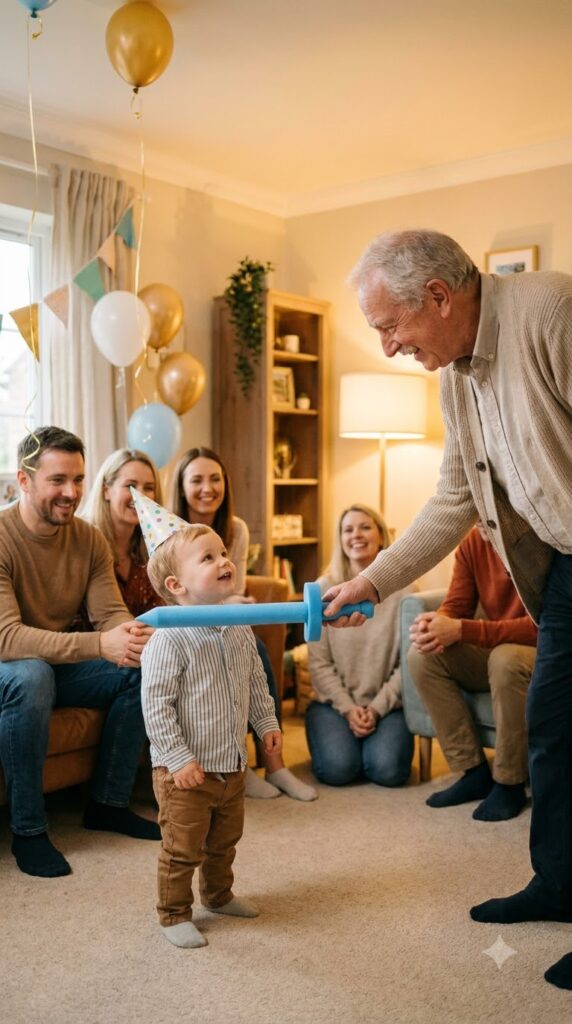
Right before the candles get blown out, have a parent or grandparent tap each shoulder gently with a foam sword and declare the birthday child “officially crowned” for the day.
It takes under a minute, needs no rehearsal, and gives every camera in the room the same moment to capture at once. This works especially well for two and three year olds who already love a little bit of ceremony and attention.
A thirty second ceremony gives you the one photo that outlasts every other decoration in the room.
18. Send Guests Home With Treasure Chest Favor Boxes
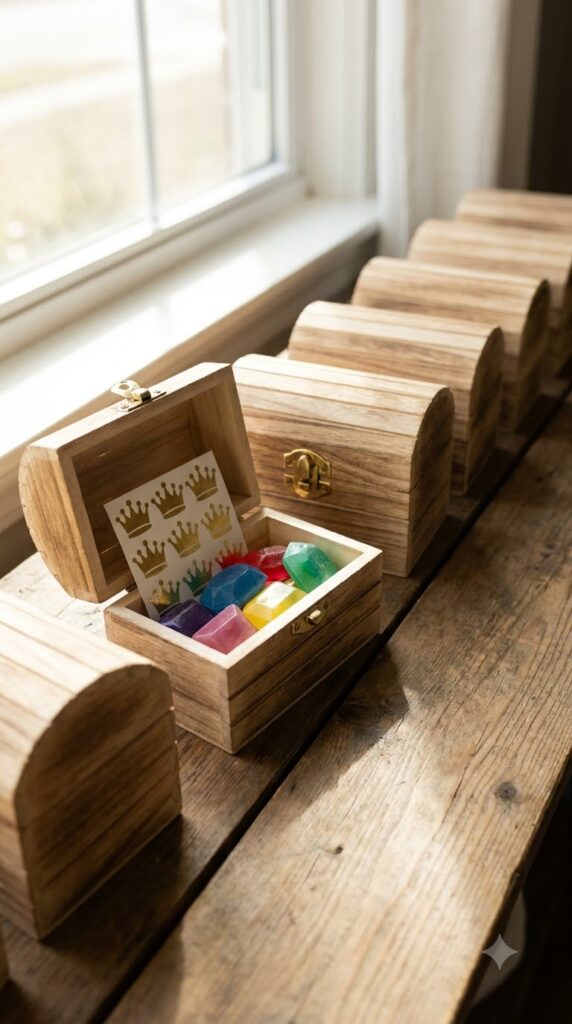
The classic goodie bag full of plastic trinkets gets tossed by the time everyone gets home. A small favor box shaped or wrapped like a treasure chest gets kept, at least for a while, sitting on a shelf.
Skip stuffing it with candy alone. Add one or two items tied to the theme, like a small crown sticker sheet or a gem shaped soap, so it feels connected to the day instead of like a leftover bag of candy.
| Standard Goodie Bag | Treasure Chest Box |
|---|---|
| Cost: low | Cost: low to medium |
| Keepsake value: low | Keepsake value: high |
19. Finish The Room With A Few Oversized Gold Number Balloons
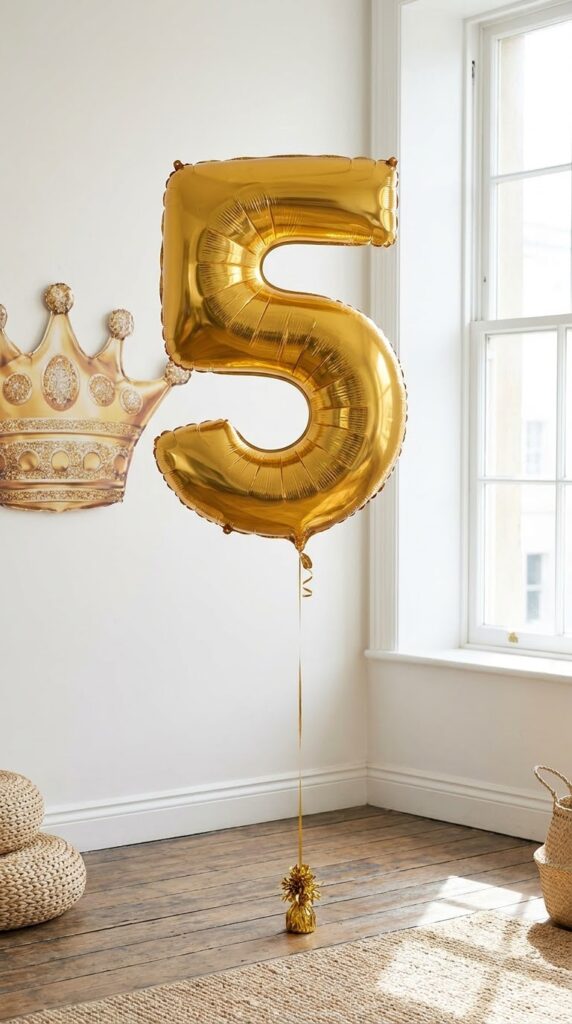
A giant gold number balloon marking the birthday child’s age gives photographers one clean focal point without needing another full decor piece.
Set it against the crown backdrop or float it near the throne chair, whichever spot gets the most foot traffic during the party. Weight the base with a small bucket of rocks or sand hidden under fabric so it doesn’t tip over once toddlers start running past it.
Conclusion
A royal prince birthday doesn’t need a rented castle or a professional planner to feel like an event. What actually makes it work is a handful of specific touches, a throne chair, a crown backdrop, a dessert table with real height, done well instead of a dozen half finished ones. Pick five or six ideas from this list that fit your space and your weekend, and build outward from there. The room will still feel majestic even if half the decorations came from a craft store bin.
Save this list for the next time you’re planning a little one’s celebration, so you’re not starting from scratch again.