Blue and white has been a design classic for centuries, and it works just as well on a birthday table as it did in old porcelain collections. There is a reason so many hosts return to this pairing again and again: it never looks cheap, it never looks childish, and it photographs beautifully in almost any light. If you are searching for blue and white birthday theme ideas that feel put together instead of thrown together, you are in the right spot. The palette can lean coastal, vintage, modern, or a little bit French country, depending on which blues you choose and how you layer the white. What follows are eighteen ways to build that look, from the tablescape to the dessert table to the small styling details most people skip. Some ideas are quick swaps you can make an hour before guests arrive. Others take a bit more planning but pay off in every photo. Pick a handful that fit your space and your guest list, and let the rest go. A theme should make hosting easier, not harder.
1. Start With a Two-Tone Tablecloth Instead of One Solid Colour
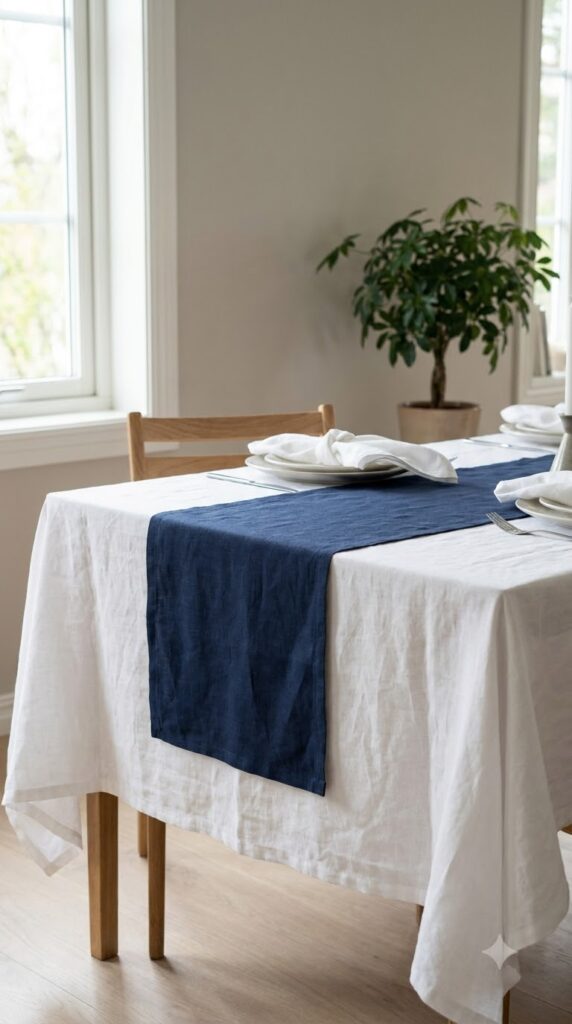
Skip the single-color cloth and layer two instead. Lay a full white cloth as your base, then add a blue table runner or fitted overlay down the center so the two fabrics build real depth. Cotton and linen hold a crease without looking stiff, and a smaller blue piece is far cheaper than replacing your whole tablecloth. No new runner on hand? Fold an existing blue cloth lengthwise and use that instead.
Quick tip: iron the runner right before guests arrive so the crease lines stay crisp through photos.
2. Let Hydrangeas Do Most of the Decorating Work
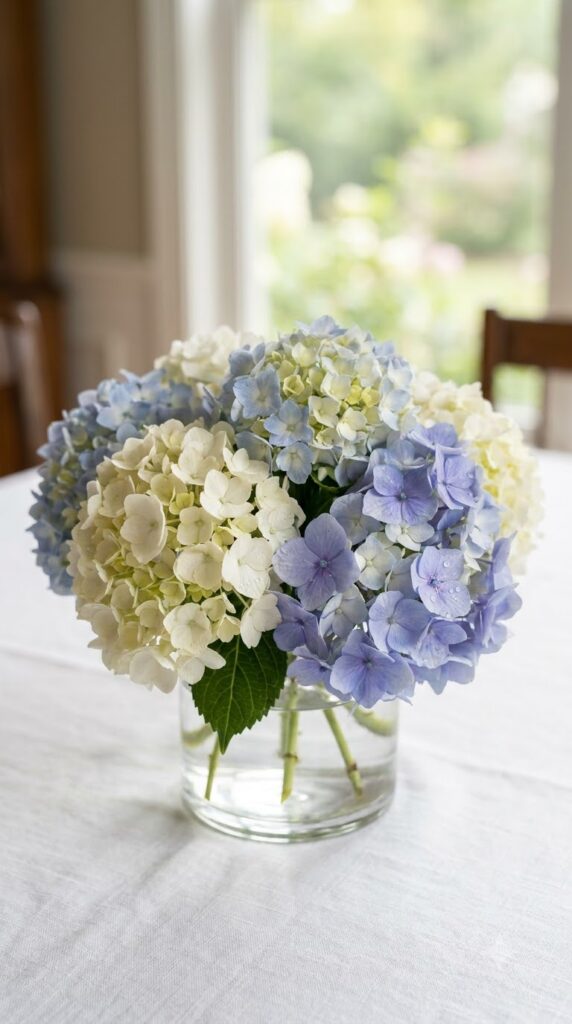
One good hydrangea stem covers more table than almost any other flower, which makes it the easiest way to fill a blue and white spread without spending an afternoon arranging. Buy them a few shades apart, from nearly white to deep periwinkle, and let the color do the gradient work for you. Trim the stems short and cluster three or four heads into a low vase so the flowers sit at conversation height instead of blocking guests across the table.
If a stem starts to wilt before the party, a quick dunk in cool water usually revives it within the hour.
💡 Quick Tip
Buy hydrangeas a day early and let them sit in water overnight. They open fuller and last longer once they are cut.
3. Frame the Dessert Table With a Pleated White Backdrop
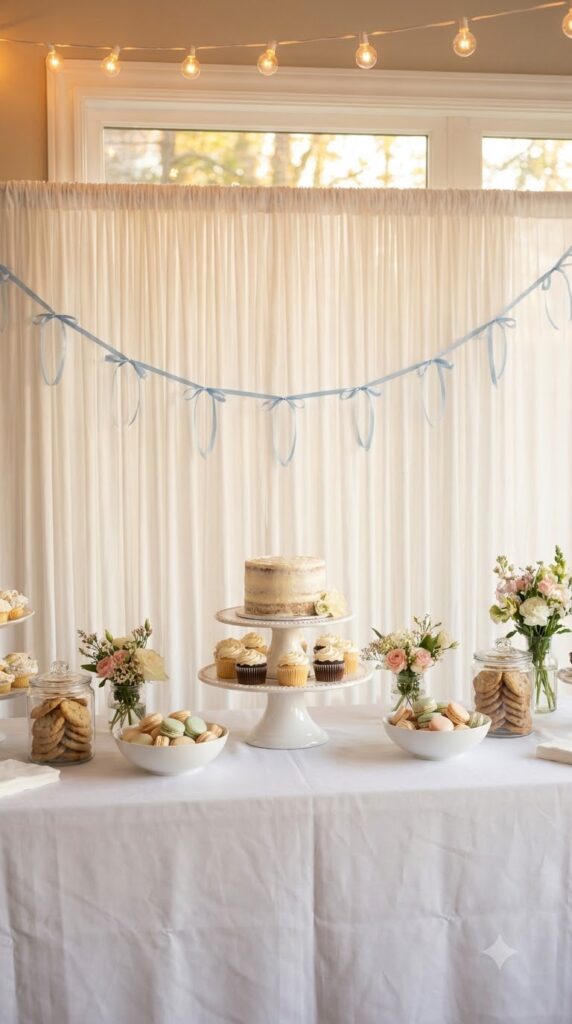
A plain wall behind the cake stand almost always photographs flat. Pin a length of pleated white fabric or crepe paper behind the dessert table instead, and every plate, cake, and candle suddenly has contrast to sit against. The pleats catch light differently than a flat sheet would, which gives the whole area texture without adding another color. Command hooks hold the fabric fine on rented venues where you cannot use nails.
Add one blue element in front of the backdrop, like a ribbon or a single garland, so the white does not read as empty.
Bare wall behind the cake, flat in every photo.
Pleated white backdrop that catches light and frames every dessert.
4. Stick to Three Blues, Never More
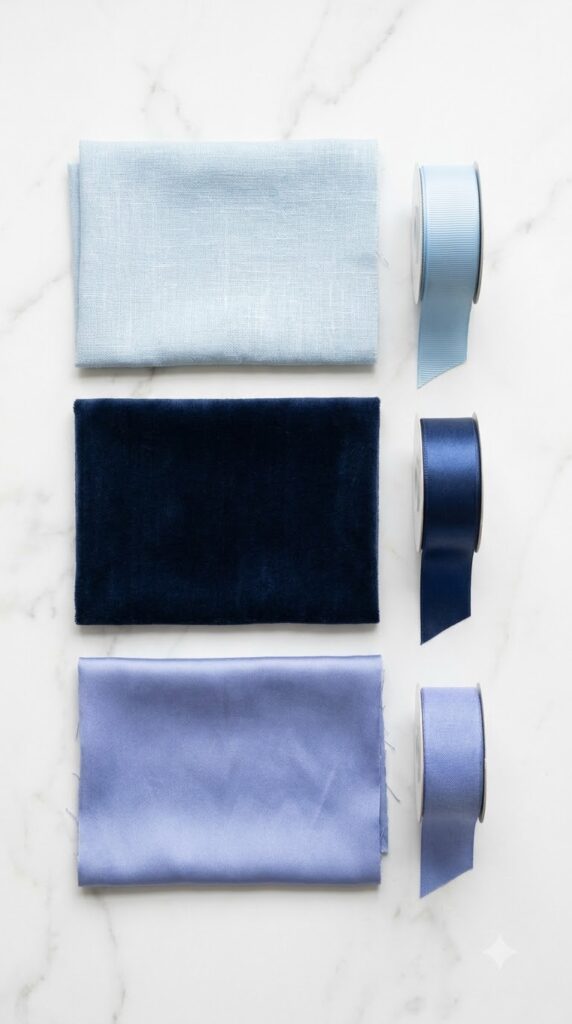
A theme called blue and white can quietly turn into six different blues fighting each other on one table. Pick three: a pale sky blue, a mid navy, and one accent like cornflower or periwinkle, then build everything else around that trio. Balloons, ribbons, plates, and florals should each pull from the same three, not introduce a fourth. It keeps the whole setup looking chosen instead of collected.
Write your three shades down before you shop so you are not guessing in the store aisle.
Your three-shade shopping list
5. Do Not Skip the Napkins, Even If You Are Short on Time
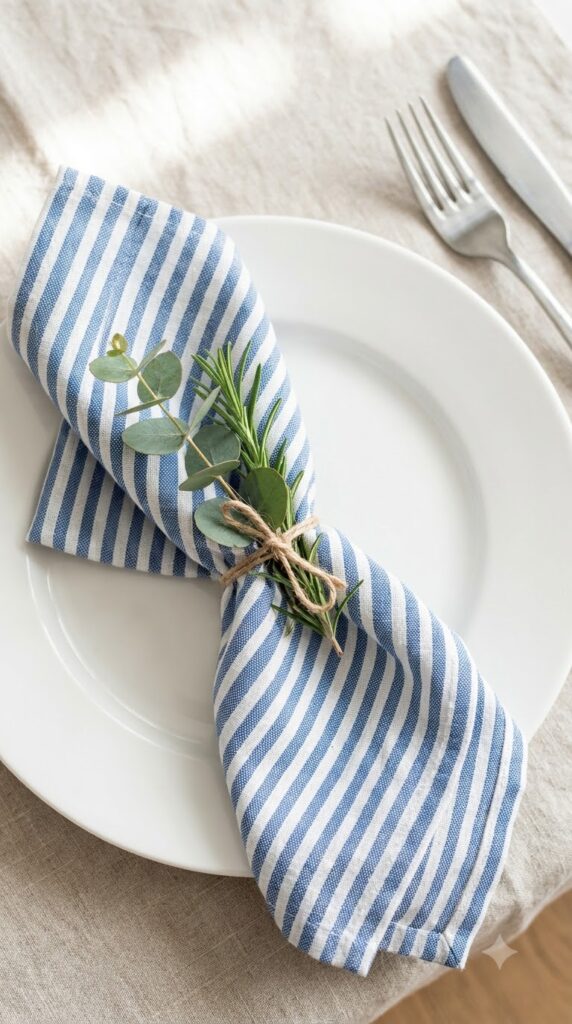
Plain white napkins are the detail most hosts drop when the party gets close, but they are also one of the cheapest ways to pull the palette together. A folded blue and white striped napkin under each plate does more visual work than an extra centerpiece, and it costs a fraction as much. Cloth napkins photograph better than paper if your budget allows it, but a striped paper napkin still reads as intentional rather than an afterthought.
Fold them into a simple rectangle and tuck one sprig of greenery under the fold for a small finishing touch.
6. The Table Looks Empty Even After You Set It Up
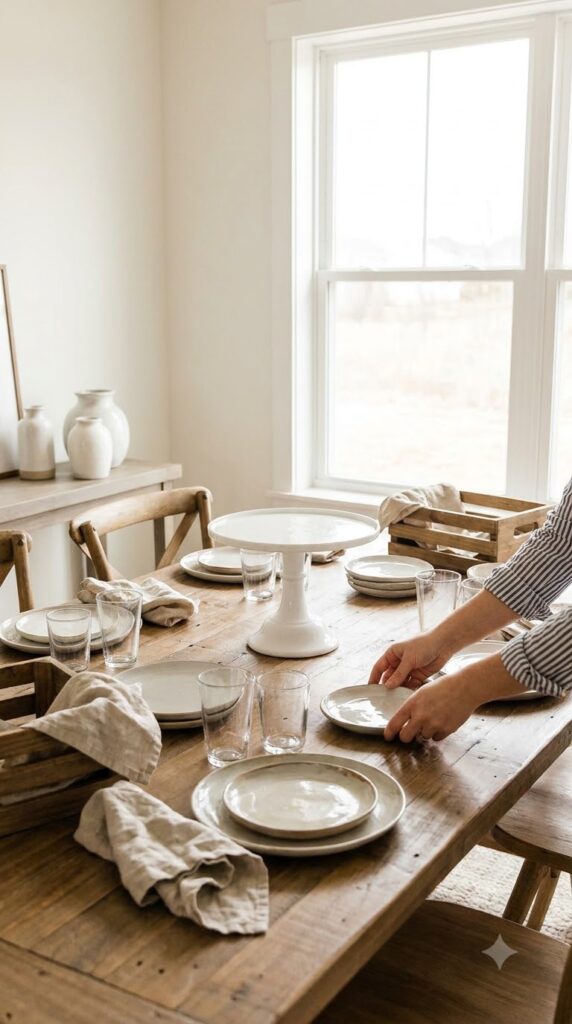
This usually means the eye has nowhere to land. A blue and white table needs one clear focal point, not scattered small details competing for attention. Build height in the center with a cake stand, a tall vase, or stacked white boxes tied with blue ribbon, then let everything else sit lower around it.
Follow this order so the table fills in the right sequence and never feels flat once every seat is taken:
Place the tallest centerpiece first.
Set plates and glassware around it.
Fill remaining gaps with flowers and small decor.
7. Blue and White Does Not Have to Mean Nautical
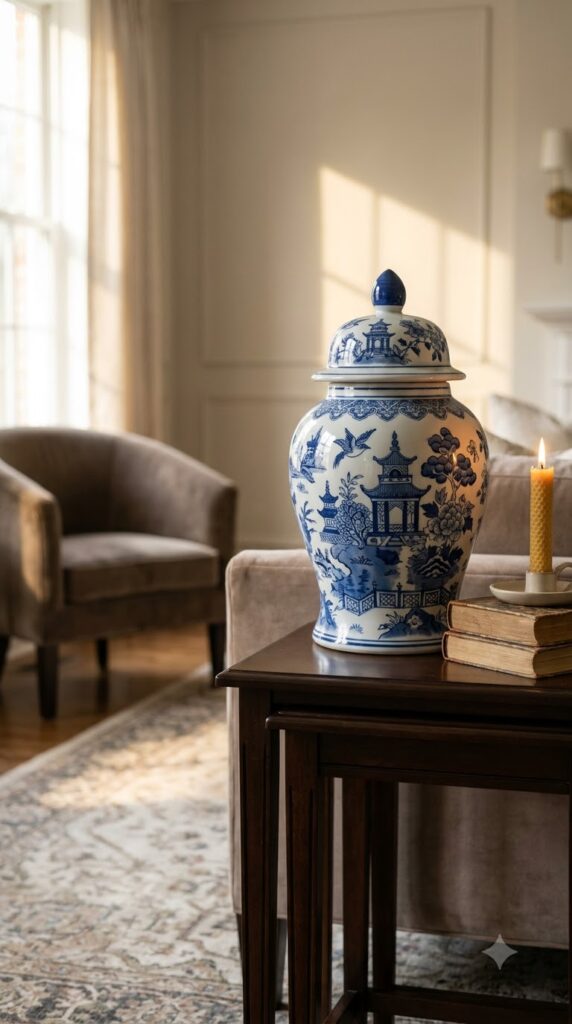
Most people hear blue and white and picture anchors and rope, but the palette carries just as easily in a French country or modern minimalist direction. Swap the anchor motifs for chinoiserie prints, ceramic ginger jars, or simple striped linen, and the theme reads elegant instead of coastal souvenir shop. The color combination does the heavy lifting. The props around it decide the style.
Choose one direction and stay there, since mixing nautical rope with delicate china in the same setup tends to look confused rather than curated.
Chinoiserie prints.
Ceramic ginger jars.
Anchor motifs and rope trim.
Life preserver decor.
8. Delft-Style China Versus Plain White Plates
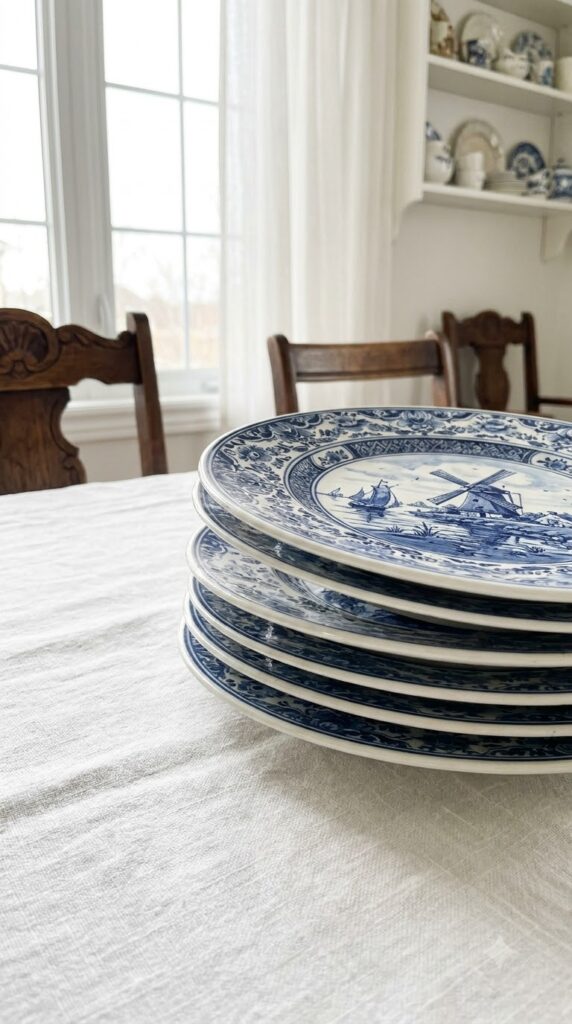
Delft-style plates bring the pattern in on their own, so you can keep the rest of the table simpler and let the dishware carry the theme. Plain white plates cost less and rent easily, but they need more help from linens, flowers, or a charger to avoid looking bare. Neither choice is wrong, it depends on what you already own and how much styling time you have left.
If you are borrowing dishes from family, ask for blue-patterned china first since it saves you from decorating the table twice.
| Delft-Style Plates | Plain White Plates |
|---|---|
| Pattern already built in | Needs a charger or runner to stand out |
| Higher cost to rent or buy | Lower cost, easy to find |
9. Layer at Least Two Candle Heights on the Table
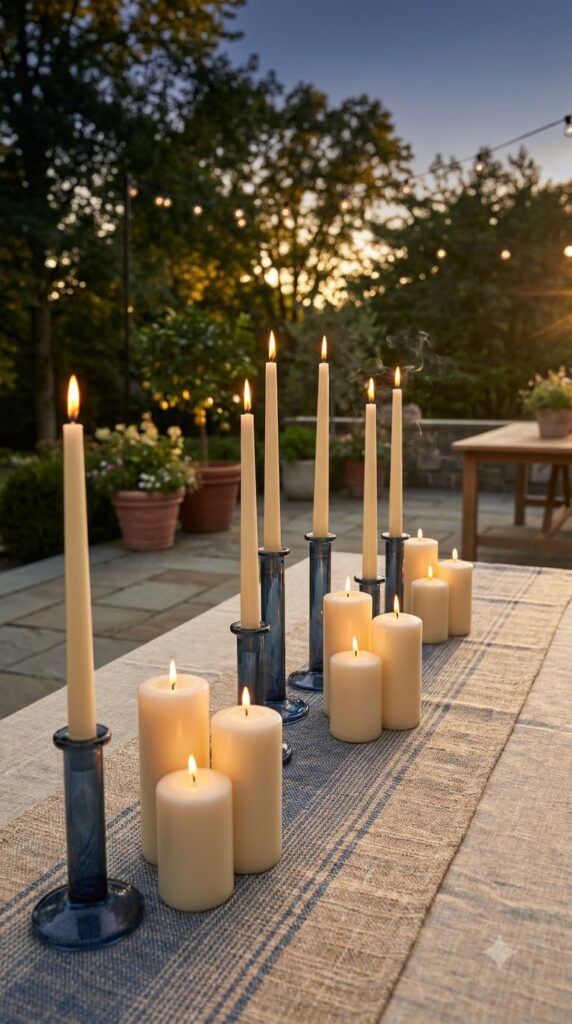
Set a mix of taper candles and short pillar candles down the table instead of matching heights straight across. Blue glass candle holders next to plain white pillars give the eye somewhere to move, and the flicker reads warmer in photos taken after sunset. Beeswax or unscented candles are worth the extra cost near a dinner table so the smell does not compete with the food.
Group candles in odd numbers, threes work well, so the arrangement looks gathered rather than lined up like a runway.
Uneven candle heights make a table look styled. Matching heights make it look staged.
10. Save the Deepest Navy for Ribbon, Not for the Walls
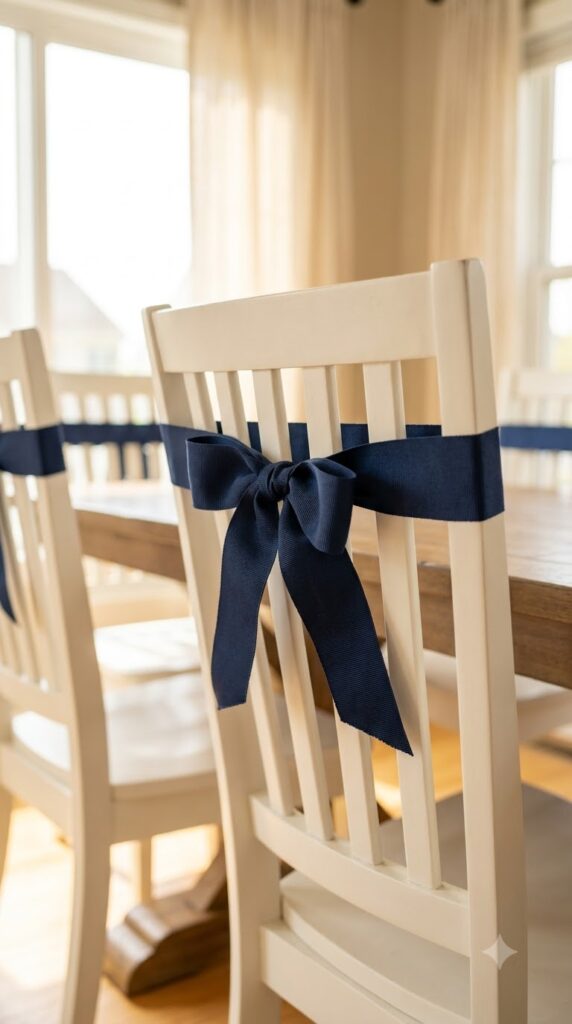
A whole wall of navy can swallow a room, especially indoors, but a spool of navy grosgrain ribbon does the same color work without the commitment. Wrap it around chair backs, tie it to balloon strings, or use it as a table runner edge, and the deep shade shows up exactly where you want the eye to stop.
Cut extra length before you start tying, since ribbon always looks shorter once it is knotted than it did on the spool.
📌 Good To Know
Grosgrain holds a knot better than satin ribbon, which tends to slip loose by the end of the party.
11. Build a Balloon Cluster Instead of a Full Arch
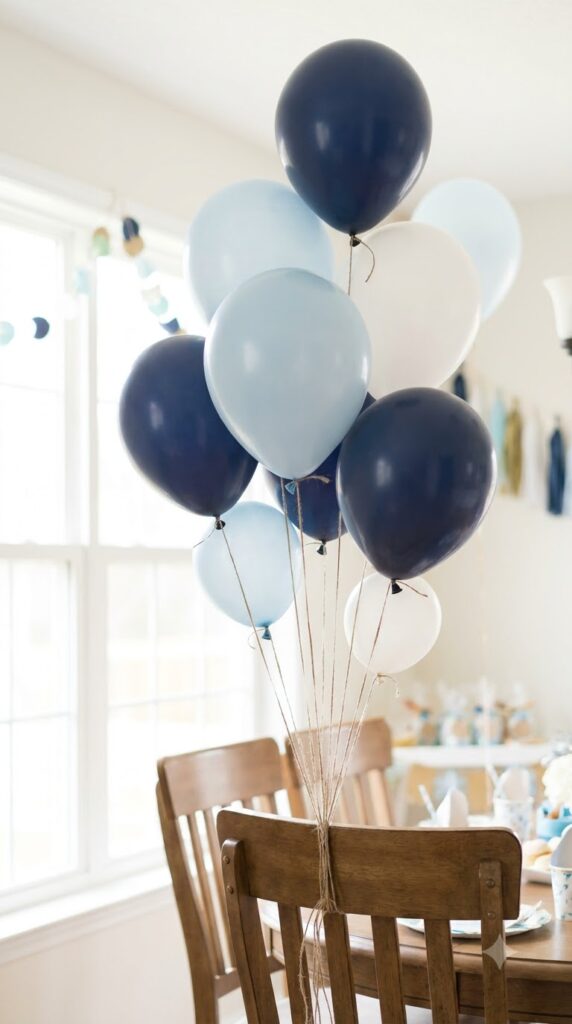
A full balloon arch takes hours and a helium tank most hosts do not own. A cluster of eight to twelve balloons tied at different string lengths gives almost the same visual impact in a fraction of the time, and it works with a hand pump instead of a rental tank. Mix matte navy, pale blue, and white balloons in the cluster so no single shade dominates.
Anchor the bunch to a chair, a doorway, or a dessert table leg with a weighted ribbon so it does not drift during the party.
12. Keep a Small Checklist for the Dessert Table Alone
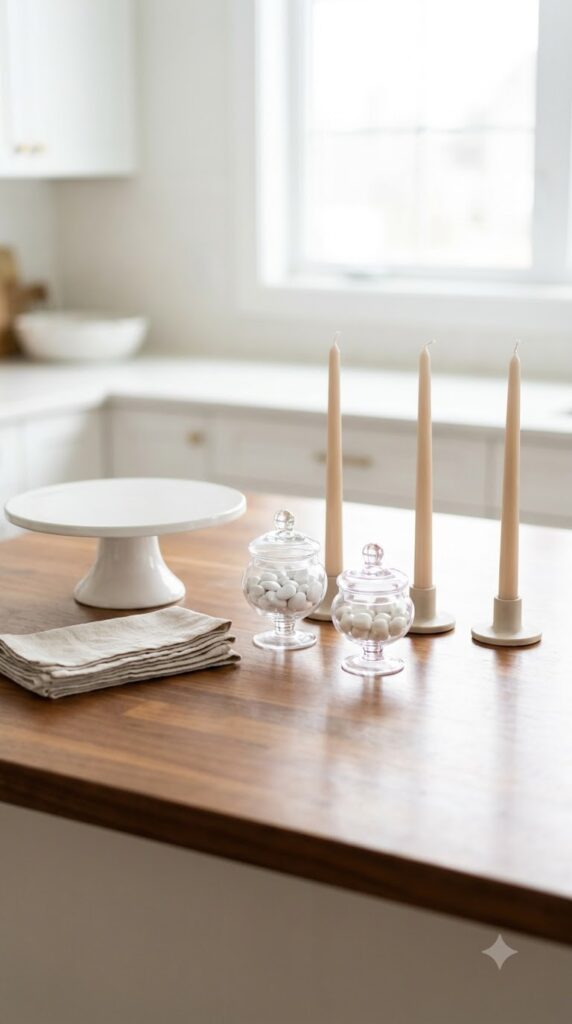
The dessert table has more moving pieces than any other spot in the room, plates, napkins, a cake stand, small dishes for candy, and it is the easiest area to forget something at the last minute. A short checklist taped inside a kitchen cabinet the morning of the party saves a scramble later.
Walk through it once before guests arrive, and again about halfway through the party to restock anything running low.
Dessert table checklist
13. The Cake Does Not Need to Be Elaborate to Fit the Theme
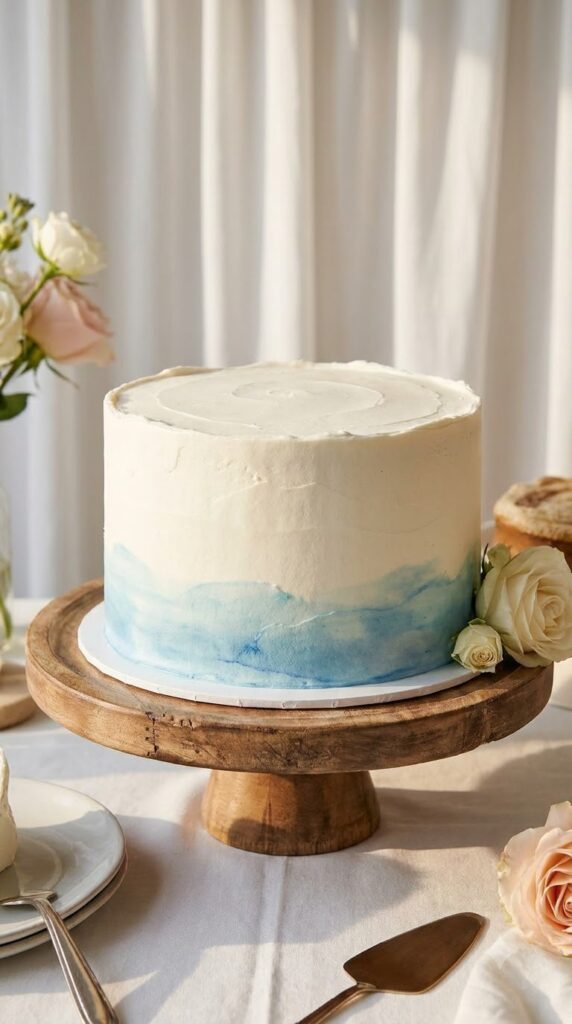
A lot of hosts assume a themed cake means hand-painted patterns or a five-tier design, and that pressure is what stops people from ordering one at all. A simple white buttercream cake with a watercolor blue edge, made by dragging a spatula lightly through blue-tinted frosting, gets the look with none of the decorating skill.
Ask your baker for a soft ombre blue border if you want the effect without doing it yourself. Most bakeries can manage this without a custom order fee.
Plain white cake that disappears next to the rest of the table.
Same cake with a soft blue watercolor edge added at the base.
14. Set Place Cards in a Simple Three-Step Order
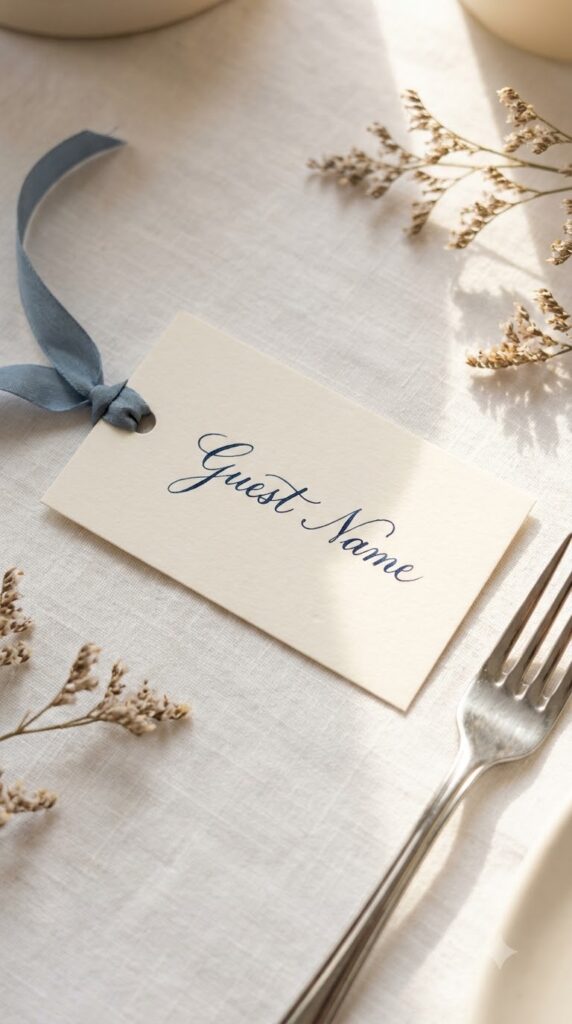
Handwritten place cards on plain white cardstock, tied with a thin blue ribbon, look more finished than printed ones and cost almost nothing extra. The trick is doing them in the right order so the ink does not smear and the ribbon lays flat.
Write the names first and let the ink dry fully, then punch a small hole in the top corner, then thread the ribbon through last so it does not get creased under your hand while you write.
Write names and let the ink dry.
Punch a small hole in the corner.
Thread the ribbon through last.
15. Watch Out for Cool White Light Under Warm Blue Tones
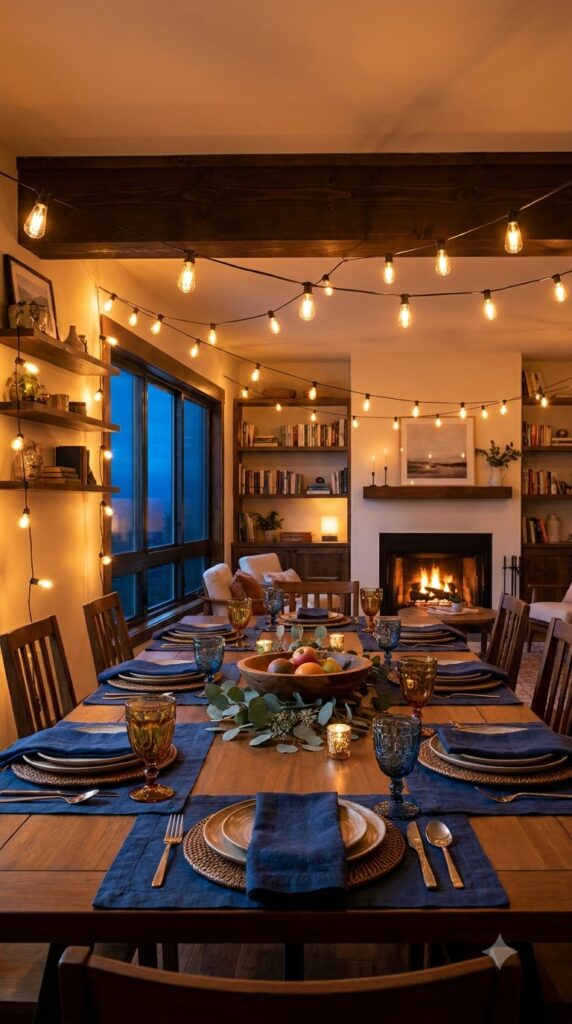
Overhead LED lighting with a cool white tone tends to wash out blue decor and makes white linens look almost gray in photos. Swap in warm white bulbs for the evening, or add a few strands of warm fairy lights near the table, and the same exact decorations suddenly look richer.
This is a five minute fix most hosts do not think about until the photos come back looking flat, so test it the night before if you can.
16. Chargers Versus No Chargers Under the Plates
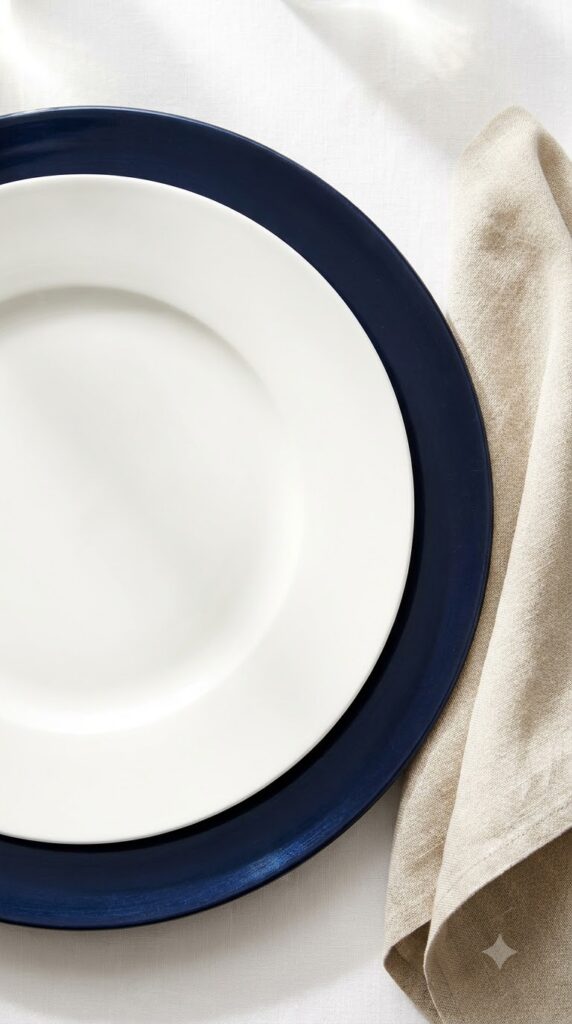
A blue charger plate under white dinnerware adds an instant frame to each place setting and hides a rented table’s imperfect surface underneath. Skipping the charger keeps costs down and works fine if your tablecloth already carries the color, since the plate alone will still read as part of the theme.
Rent chargers only if you already have a full table of matching plates. Mixing a rented charger with borrowed mismatched plates tends to look more chaotic than skipping the charger altogether.
| With Charger | Without Charger |
|---|---|
| Frames each place setting | Lower cost overall |
| Hides an imperfect table surface | Needs a colored cloth to carry the theme |
17. A Single Chinoiserie Piece Can Anchor the Whole Room
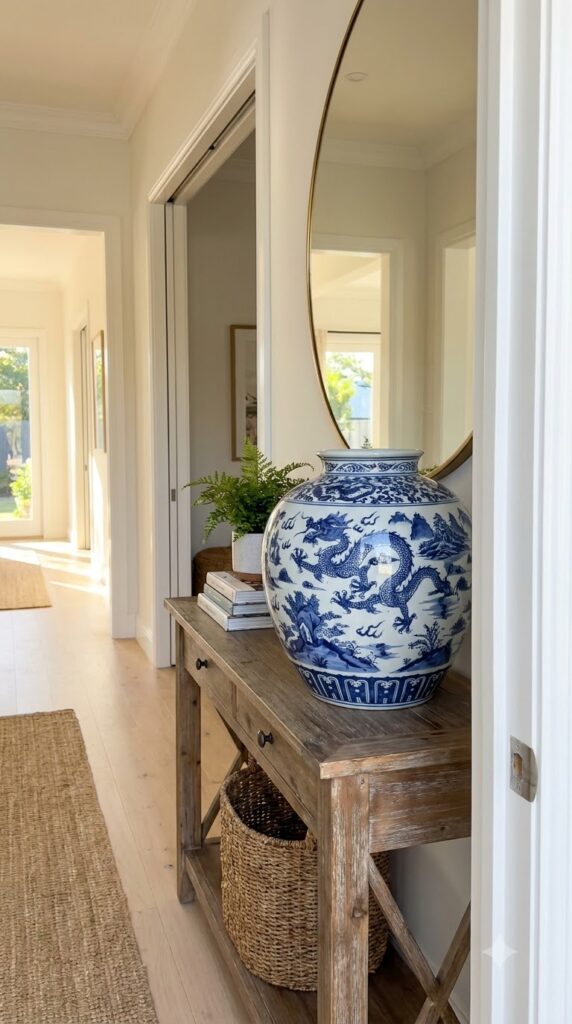
You do not need a room full of patterned vases to make the theme feel intentional. One ginger jar or chinoiserie-print piece set near the entry or on the dessert table gives guests a clear visual cue the moment they walk in, and it does more work than five smaller matching accents scattered around.
Place it somewhere guests will actually see it, like near the drinks or by the door, rather than tucked on a shelf where it blends into the room.
One statement piece placed near the entry.
Five small matching accents spread too thin to notice.
18. Close the Night With a Detail Guests Actually Remember
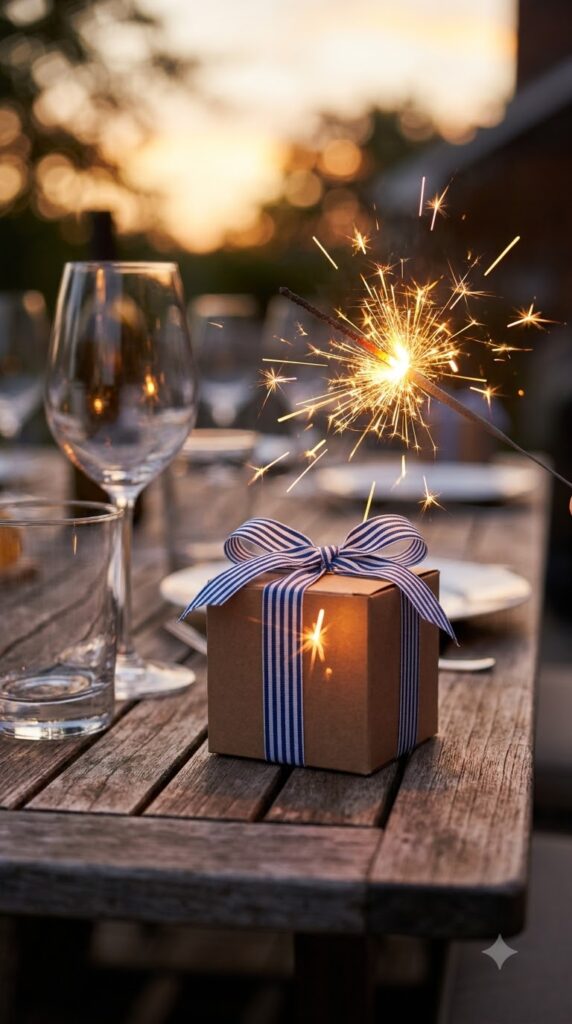
The last thing guests see tends to stick, more than the centerpiece they walked past three times. A small favor tied in blue and white ribbon, a signature drink served in a blue-rimmed glass, or even blue and white sparklers for a milestone birthday gives the night a clear closing moment instead of trailing off.
Keep it small and consistent with your three chosen blues so the ending feels like part of the same story, not a separate decision made in a rush.
A theme is easiest to remember by its first five minutes and its last five. Plan both on purpose.
Bringing It All Together
Blue and white birthday theme ideas work because the palette does most of the styling on its own, which means you do not need a big budget or a design background to pull off a table that looks considered. Start small if eighteen ideas feels like a lot: pick your three shades, choose one focal point for the table, and build outward from there. The details that matter most, like layered candle heights and a striped napkin, usually cost the least and take the shortest amount of time.
Save this list for the next time you are planning a birthday, so you have the full set of ideas ready when you need them.