Planning a first birthday feels like a full time job you didn’t apply for, and picking a theme is where most parents get stuck first. If your little one growls at every stuffed lion and asks to watch the same pride of animals over and over, you already know the theme has picked itself. The tricky part is turning “lion party” into something that actually looks good in photos without spending your whole weekend hot gluing felt. That’s exactly what this list is for. These are real, doable Simba birthday party ideas pulled together from setups parents have actually built in their living rooms and backyards, not a Pinterest board full of things nobody could recreate. You’ll find decor that photographs well, snacks kids will eat instead of just admire, and a few crafts that double as party favors. Some ideas take twenty minutes. A couple take a full afternoon. Grab what fits your time and your budget, skip the rest, and build a party that feels warm, golden, and a little bit wild.
1. A Golden Balloon Arch to Kick Off the Pride
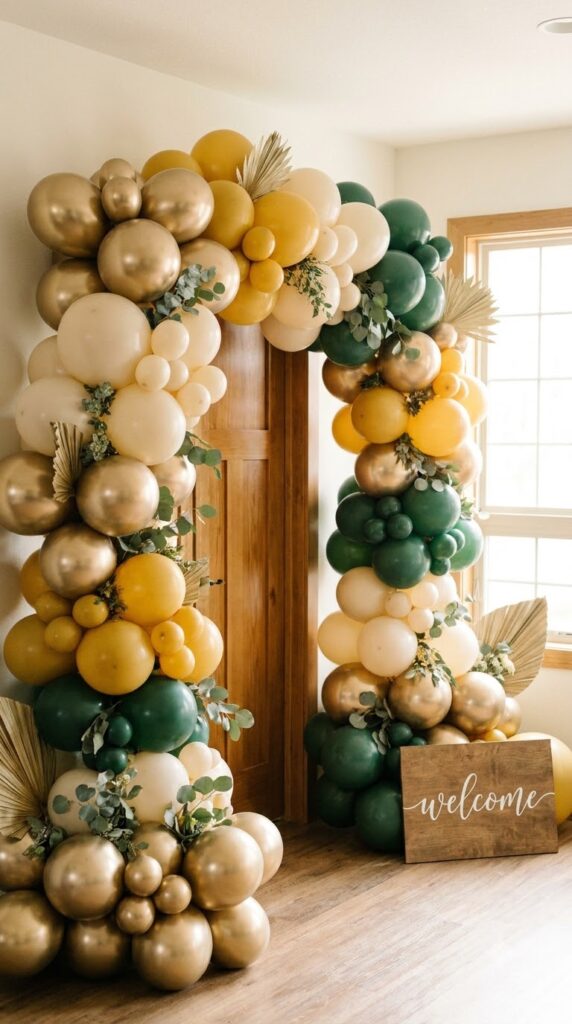
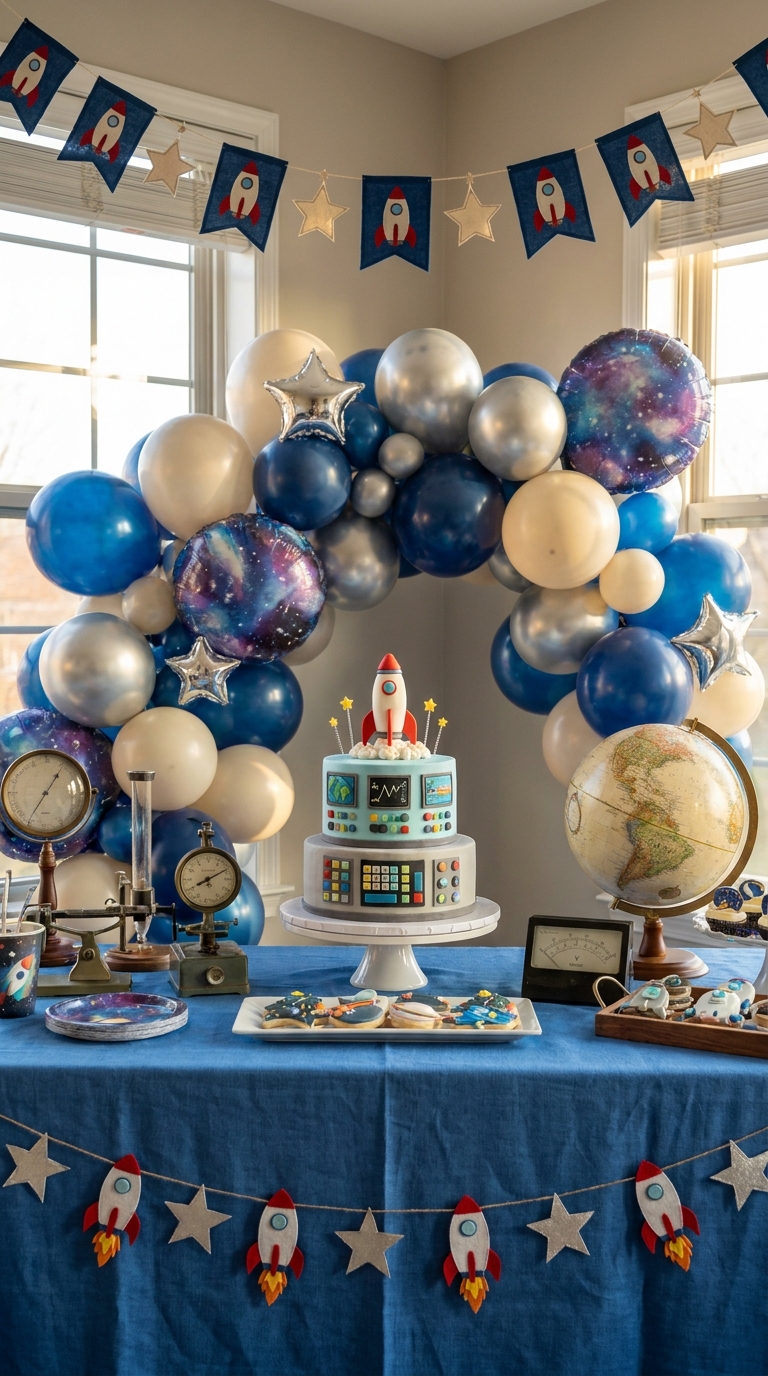
Balloons are the fastest way to turn a plain wall into a party in under an hour. For this theme, skip a single color and mix warm gold, deep amber, cream, and one pop of forest green to hint at the savanna without needing a single character cutout. Cluster the balloons in an organic arch shape over the entry table or dessert spread instead of a stiff straight line.
Here’s what makes it read as safari instead of just a birthday party:
- Mostly gold and mustard tones with cream mixed in
- A few green balloons tucked low to suggest grass
- One or two oversized balloons for visual weight
How to pull it off: Use a balloon strip and alternate sizes as you go so it looks full, not evenly spaced like a garland kit straight out of the box.
2. A Sunset Savanna Backdrop for Every Photo
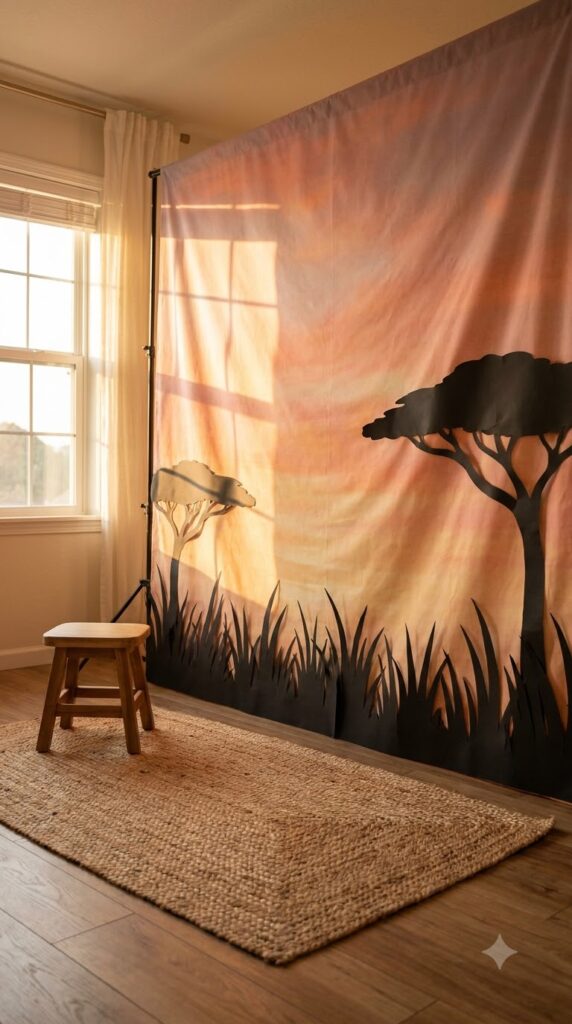
If people are going to gather anywhere at the party, it’s going to be in front of the food table, so that’s where your backdrop belongs. A simple fabric or paper backdrop in blended orange, pink, and gold, with a few silhouette shapes of tall grass or acacia trees cut from black cardstock, gives you a sunset horizon without needing to paint a mural.
Watch out for one common mistake: hanging the backdrop too high. Most parents center it for adults instead of a toddler sitting on the floor, and the photos end up with a big empty gap above the child’s head.
How to pull it off: Hang the lowest point of the backdrop at about 20 inches off the ground so it fills the frame when your child is sitting.
⚠️ Watch Out
Hang backdrops low. Most parents center them for their own height and end up with awkward empty space above the birthday kid in every photo.
3. Turn Your Cake Table Into a Mini Pride Rock
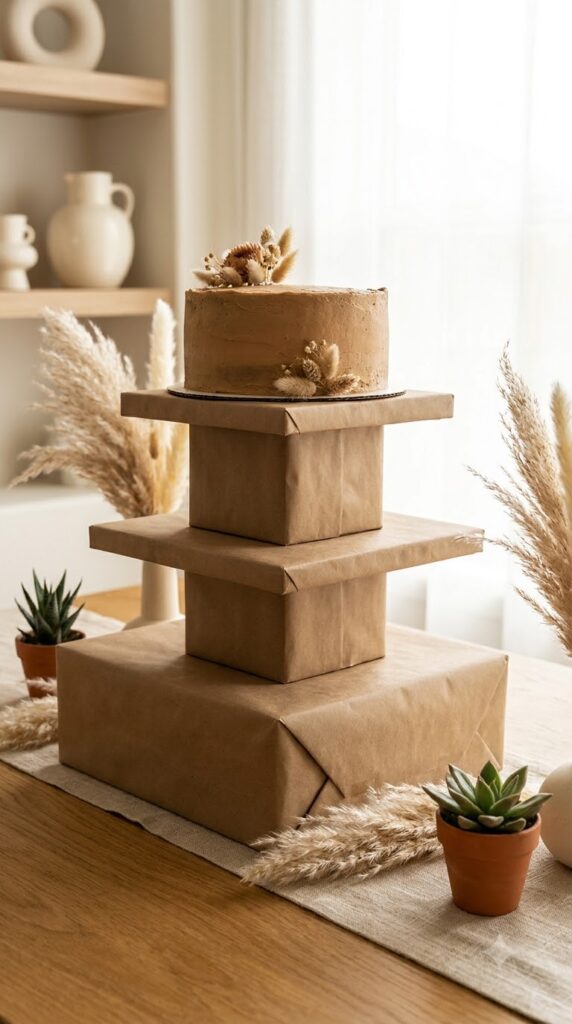
Stacked risers made from boxes and cake stands can mimic the layered look of a rock formation, and it gives your cake a little stage instead of sitting flat on the table. Use three heights, cover each riser in a warm neutral, then tuck in dried grass, small succulents, or fake greenery around the base to soften the edges.
The difference is bigger than you’d expect once you see it side by side.
How to pull it off: Wrap each riser box in kraft paper before adding fabric on top so the edges don’t show through if the fabric shifts during the party.
Cake sitting flat on a plain tablecloth with nothing to draw the eye upward.
Stacked risers give the cake height and a rocky, sunlit backdrop that looks intentional.
4. Layer a Grass Skirt Under Your Table Linen
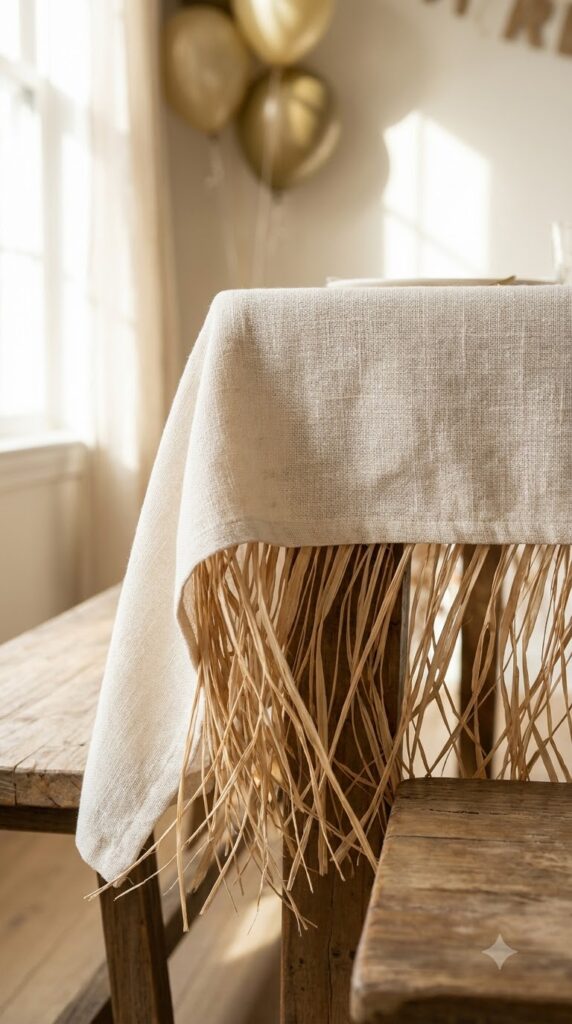
A plain tablecloth is fine, but a raffia or paper grass skirt layered underneath the front edge gives the whole table a textured, jungle floor kind of look. It’s one of those details guests notice without knowing exactly why the table feels more finished.
What you’ll need to gather before setup day:
- Raffia or paper grass table skirting
- Painter’s tape or skirt clips to secure it
- A solid color tablecloth in cream or gold to layer over the top
How to pull it off: Attach the grass skirting first, then let the tablecloth hang about three inches shorter in front so a strip of texture peeks out along the bottom edge.
Grass skirt shopping list
5. Set Up a Safari Snack Station With Paw Print Cookies
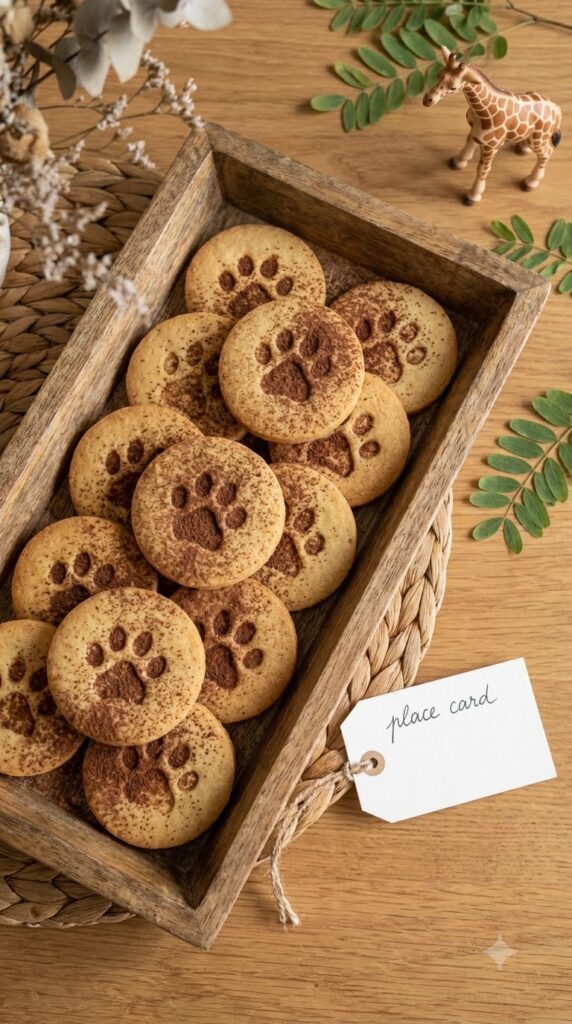
Kids at a party this age are usually more interested in grabbing snacks than posing for photos, so give them something easy to reach and fun to eat. Paw print cookies are simpler than they sound. You just need a round cutter and a small cluster of tiny round or teardrop shapes pressed into the dough before baking.
Here’s the quick version of how the timing usually breaks down.
How to pull it off: Bake the cookies plain and add the paw shapes with royal icing after they cool, since piped icing holds a cleaner shape than pressed dough.
6. Set Up a Lion Mane Headband Craft Table
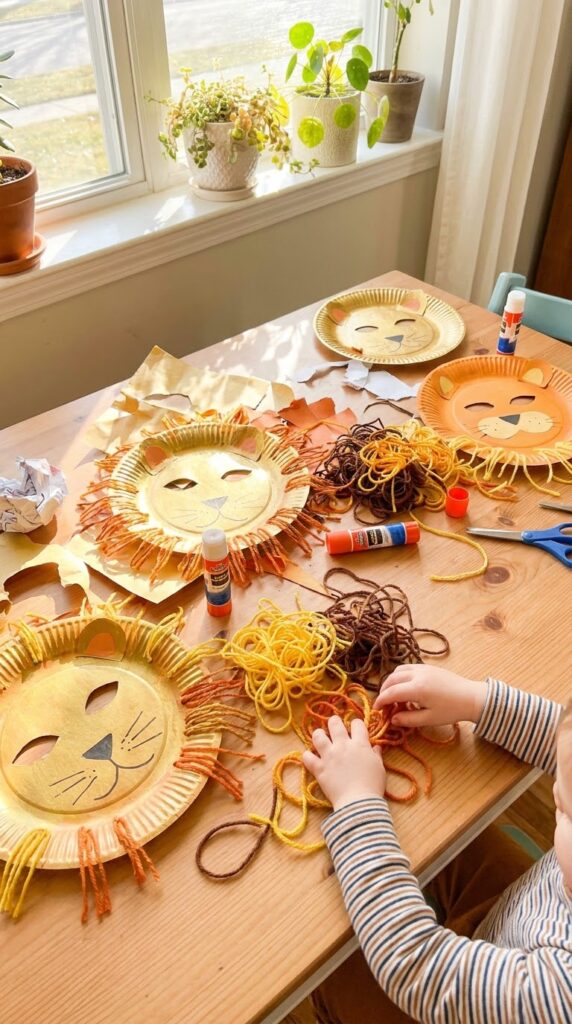
Give guests something to make instead of just something to eat, and you’ve got a built in activity that also becomes a party favor. Paper plates dyed or painted in warm gold, orange, and brown make an easy mane base, and yarn or crepe paper strips glued around the edge add texture without much cleanup.
- Precut plate centers and elastic bands the night before so kids can start right away
- Set out glue sticks instead of liquid glue to keep the mess manageable
- Let each mane dry flat for at least ten minutes before adding the elastic
How to pull it off: Cut a small hole on each side of the plate ahead of time so parents can just knot the elastic through instead of fumbling with it mid party.
Precut plate bases and elastic the night before.
Set out glue sticks instead of liquid glue.
Let manes dry flat before attaching elastic.
7. Play a Roar and Pounce Circle Game
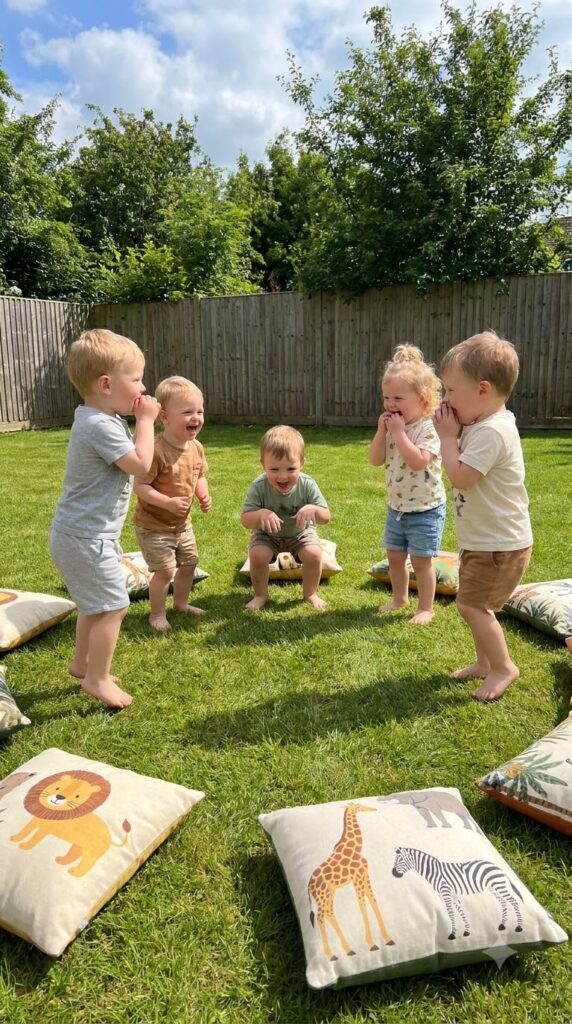
Most party games at this age fall apart within five minutes because the rules are too complicated for a group of toddlers. This one works because there’s basically nothing to remember. Kids sit in a circle, an adult calls out an animal sound, and everyone acts it out until the next call. It keeps everyone moving without needing teams, points, or a winner.
Some games hold up with a young crowd and some just don’t, so it helps to know which is which going in.
How to pull it off: Keep each round under two minutes and let an older sibling or cousin lead it, since kids follow other kids faster than they follow adults.
Simple copy the sound and movement games.
Anything with no winners or losers.
Games with elimination or waiting turns.
Anything requiring reading instructions.
8. Build a Golden Hour Dessert Table
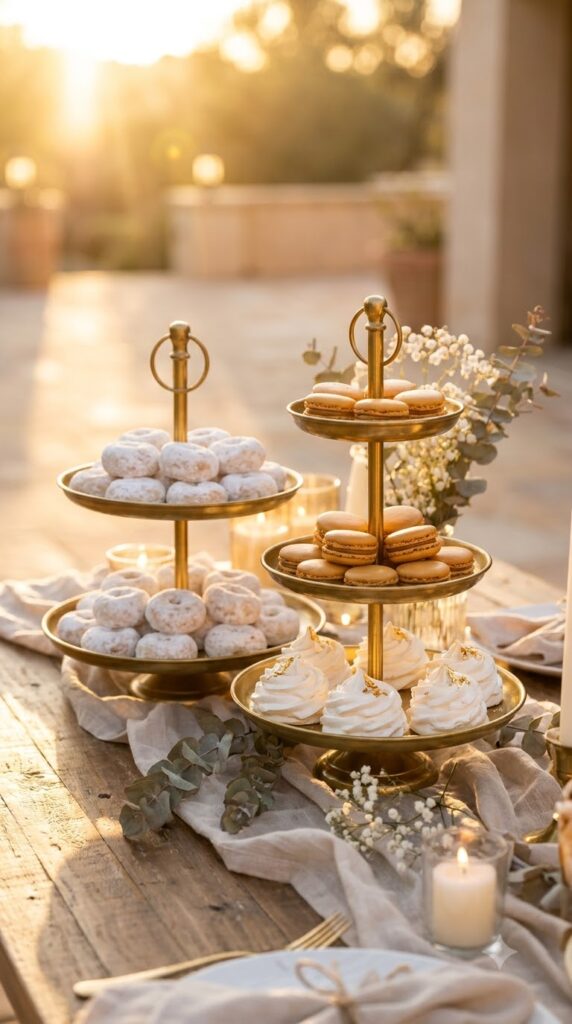
Instead of one big cake carrying the whole table, spread out smaller treats in layered gold, amber, and cream tones so the table itself looks like a sunset. Think mini donuts dusted in gold sugar, caramel colored macarons, and cream colored meringues arranged at different heights.
| Warm Layer | Neutral Layer |
|---|---|
| Caramel and honey colored treats up front | Cream and white treats set slightly back |
| Mini donuts, caramel corn, honey cookies | Meringues, marshmallows, vanilla wafers |
| Placed on lower stands | Placed on taller stands |
How to pull it off: Group treats in odd numbered clusters of three or five rather than spacing them evenly, since uneven groupings photograph better and look less staged.
| Warm Layer | Neutral Layer |
|---|---|
| Mini donuts, caramel corn, honey cookies. | Meringues, marshmallows, vanilla wafers. |
| Placed on lower stands, front of table. | Placed on taller stands, toward the back. |
9. Hang a “One Wild Year” Banner for a First Birthday
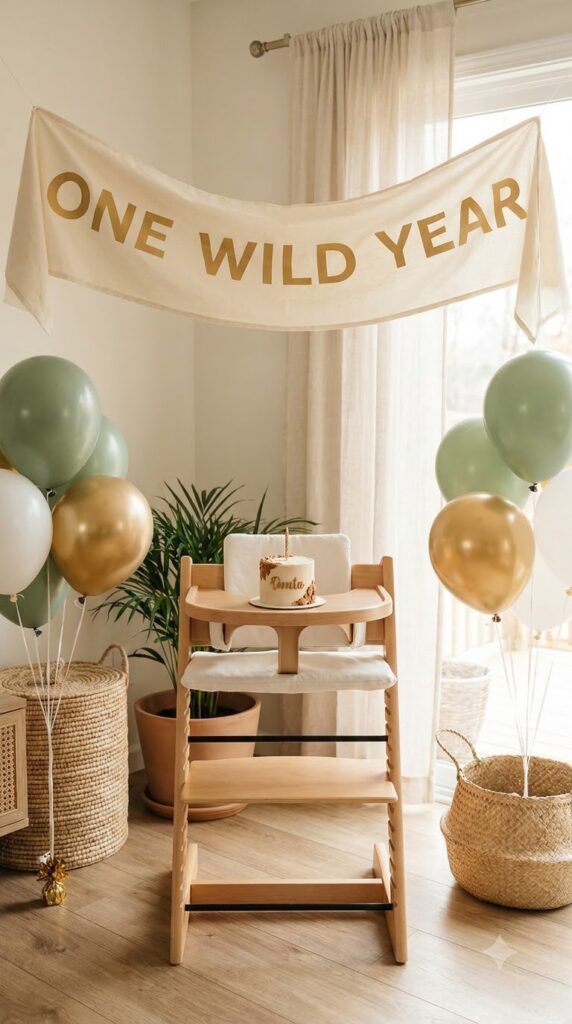
If this is a first birthday, the milestone deserves its own moment separate from the general decor. A simple banner reading “One Wild Year” in warm gold letters over the highchair or smash cake setup gives you one clean focal point for the milestone photos without competing with the rest of the room.
How to pull it off: Keep the banner letters in one solid color instead of mixing patterns, since a busier backdrop already surrounds it and the text needs to stay readable in photos.
Best for: families who want one dedicated milestone photo spot separate from the party decor.
Give the milestone its own clean, uncluttered spot so the smash cake photos don’t compete with the rest of the decor.
10. Mix Animal Print Tableware Instead of Matching Everything
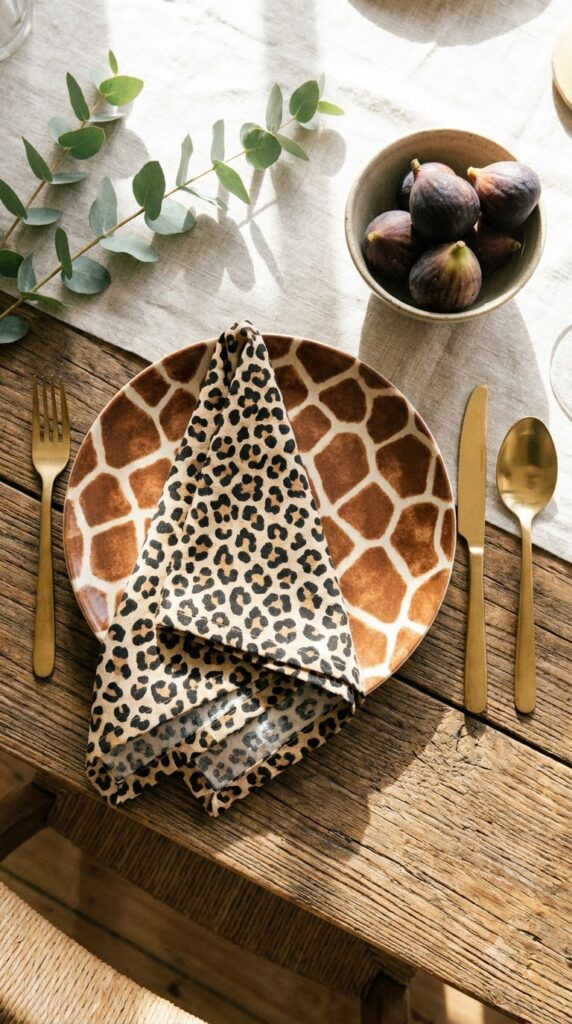
Buying one matching plate and napkin set is the easy default, but mixing two or three animal prints, like a giraffe pattern plate with a leopard print napkin, gives the table more depth. It reads as styled instead of store bought straight out of a single package.
- Choose one pattern as the dominant plate design
- Add a second pattern only on napkins or cups
- Keep the base color palette consistent so the mix doesn’t clash
How to pull it off: Stick to two prints maximum. A third pattern usually tips the table from playful into busy.
- ▸Pick one pattern for the plates.
- ▸Save a second pattern for napkins or cups only.
- ▸Two prints max keeps the table from looking cluttered.
11. Build a Cardboard Safari Jeep Photo Prop
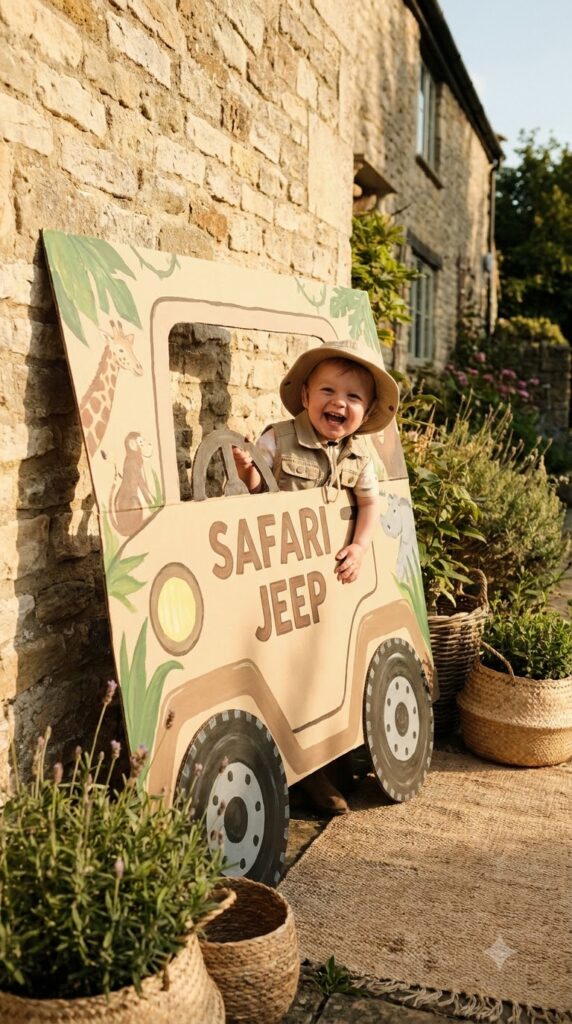
A flattened cardboard box painted tan or olive, with a steering wheel drawn on and headlights cut out, gives kids something to climb into for photos that looks far more custom than a store bought backdrop. Prop it against a wall or lean it over a low bench so it stands upright without extra bracing.
The finished prop makes a bigger difference than the raw materials suggest.
How to pull it off: Reinforce the back of the cardboard with a second flattened box taped on for support, or it will start to sag by the third or fourth kid who climbs in.
A plain cardboard box sitting in the corner of the yard.
A painted safari jeep prop kids climb into for every photo.
12. Turn a Cake Topper Into a Roaring Lion Silhouette
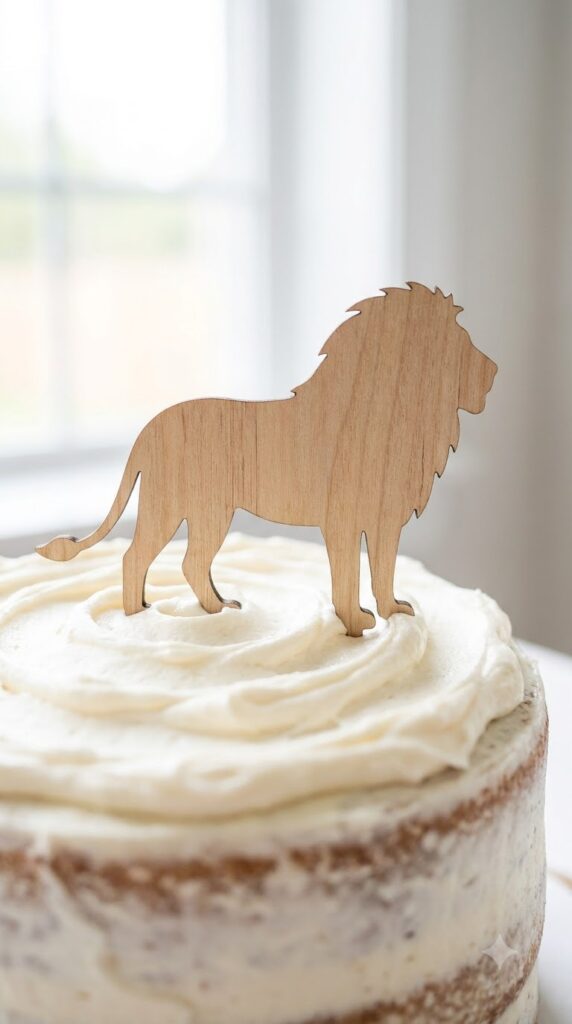
Skip character figurines and cut a simple lion silhouette from cardstock or wood veneer instead. A side profile with a rounded mane reads as a lion instantly without needing any detail work, and it’s a shape you can trace freehand from a printed reference if you’re not confident drawing it yourself.
A quick note before you start cutting.
How to pull it off: Mount the silhouette on a thin wood skewer with hot glue so it stands upright without wobbling once it’s pushed into frosting.
📌 Good To Know
A simple side profile silhouette reads clearly at cake size. Adding facial detail usually gets lost once the topper is that small.
13. Set Up a Watering Hole Drink Station
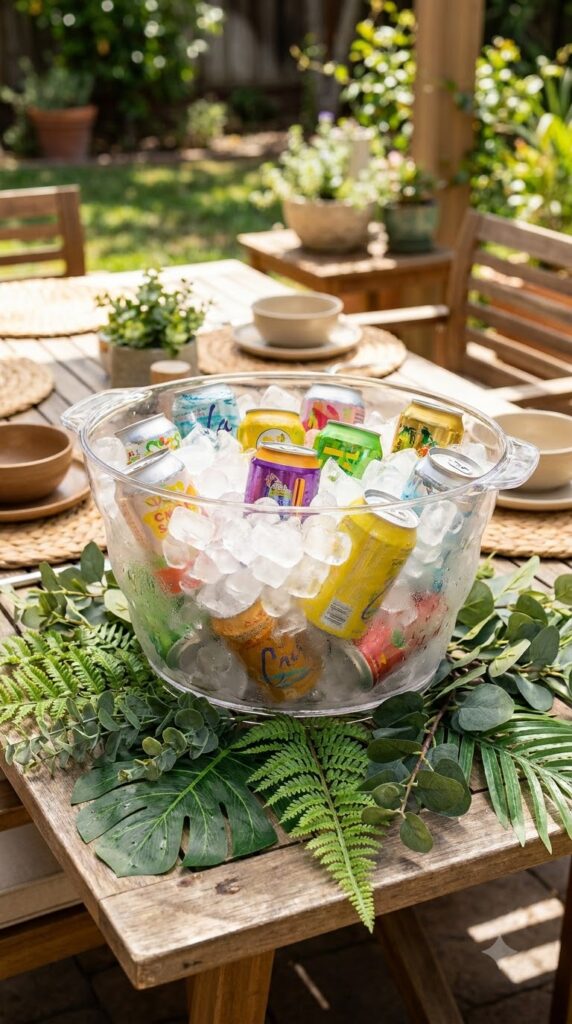
Instead of a plain drink table, add a large clear bowl or tub as the centerpiece, styled like a small watering hole with ice and drinks nestled inside, surrounded by a few plastic or paper leaves around the base. It’s a small styling shift that makes the drink station feel like part of the theme instead of an afterthought.
What to gather before the party starts:
- A large clear tub or beverage bucket
- Bagged ice and bottled or canned drinks
- Faux leaves or greenery to arrange around the base
How to pull it off: Arrange the greenery after the drinks are already in place, tucking it around the edges rather than underneath, so it doesn’t get soggy from melting ice.
Watering hole setup list
14. Send Guests Home With Safari Adventure Kits
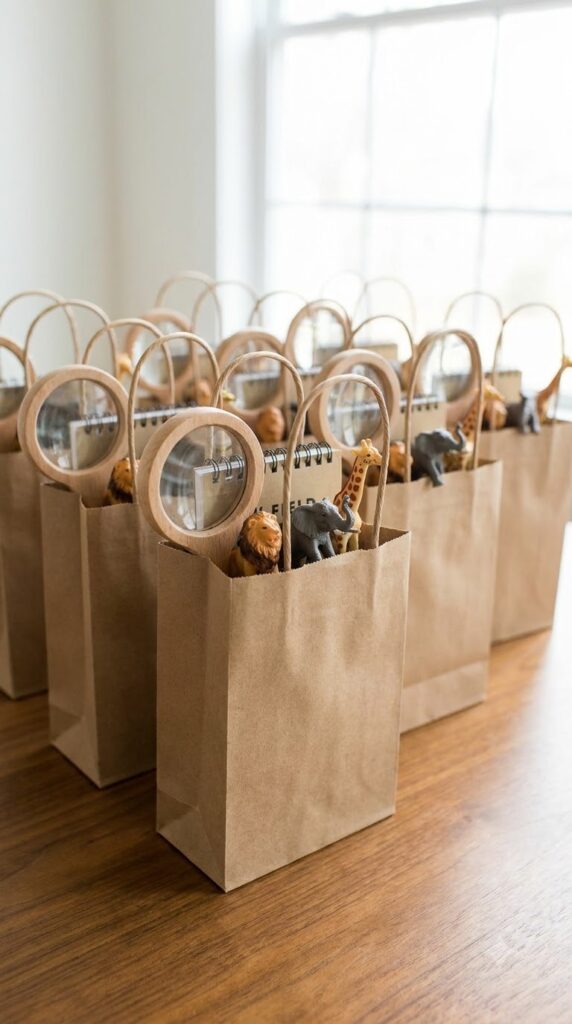
A small brown paper bag with a magnifying glass, a few animal figurines, and a mini notebook makes a favor that kids actually use instead of one that gets left behind on the table. Skip candy heavy favors and lean into the explorer angle instead, since it fits the theme without adding another sugar rush to the day.
The cost stays low even though the favor feels more thought out than a grab bag of candy.
How to pull it off: Label each bag with the child’s name in gold marker so it doubles as a place card if you’re seating kids at a table.
15. Layer a Golden Sunset Balloon Garland Overhead
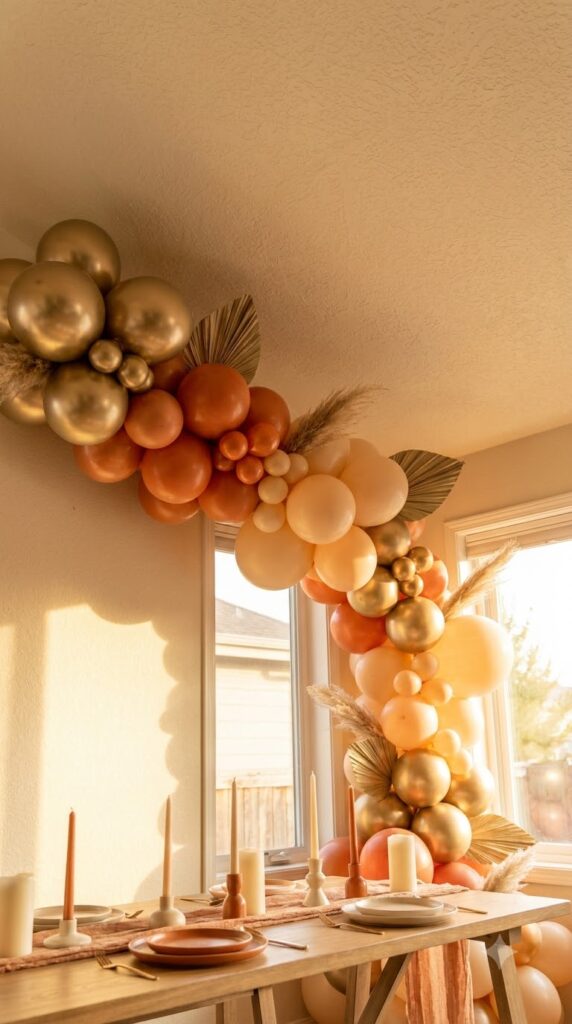
A ceiling mounted balloon garland pulls the eye up and makes even a small room feel more like an event. Blend gold, warm orange, and a few cream balloons in an organic wave shape rather than a straight line, and let it stretch across the main gathering area instead of hiding it in a corner.
A garland like this depends on contrast to actually read as a sunset from below.
How to pull it off: Use a garland strip and a few fishing line anchors instead of a full frame, since a slightly loose, uneven curve looks more natural than a tightly stretched line.
16. Add a Roaring Countdown Sign to Build Excitement
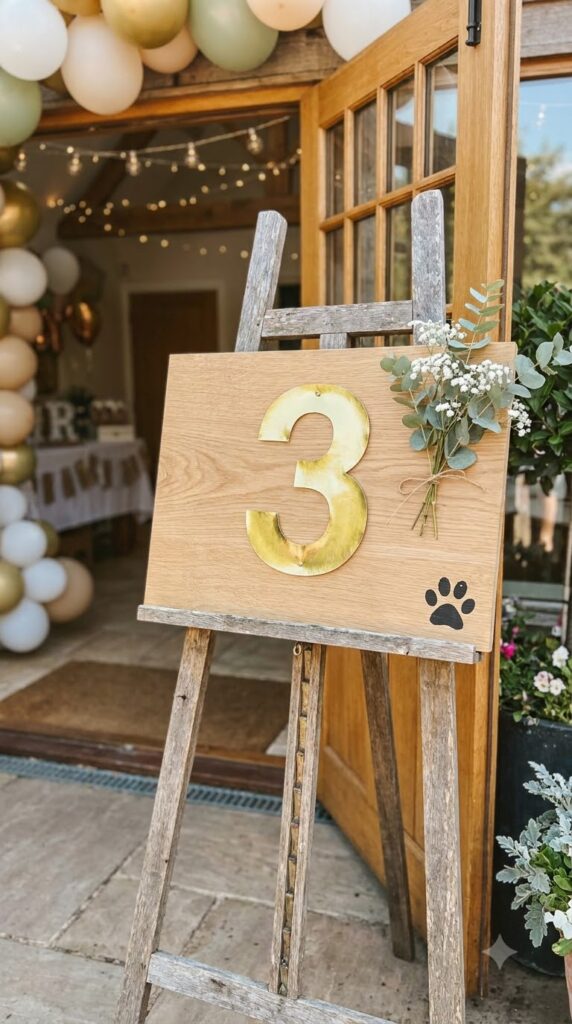
A simple sign near the entrance counting down to the birthday moment, styled with gold numbers and a small paw print or grass motif, gives guests something to smile at as they arrive and adds one more photo worthy detail without much extra effort.
One small styling choice makes this sign look finished instead of last minute:
- Use a solid gold or cream base board so the numbers stand out clearly
- Keep the font simple and bold rather than a script that’s hard to read from a few feet away
- Prop it on a small easel near the entry table instead of taping it flat to the wall
How to pull it off: Write the number as a big centered digit and keep everything else on the sign small, since the number is what people actually stop to read.
Use a solid gold or cream base so numbers stand out.
Keep the font bold and simple to read from a distance.
Prop it on a small easel instead of taping it flat.
A Roaring Celebration, One Idea at a Time
You don’t need every single one of these ideas to pull off a party that feels warm, golden, and a little bit wild. Pick three or four that fit your space and your weekend, and let those carry the theme. The details that make a Simba birthday party feel special usually come from small, doable choices, a mane craft here, a sunset balloon garland there, not from trying to recreate an entire scene from scratch. Whatever you build, your little cub is going to walk into a room that feels like it was made just for them, and that’s really the whole point. Save this list for the next time you’re planning a birthday and need a starting point that already has the hard part figured out.