Your kid has been asking about this party since roughly October. Every drawing on the fridge has a mustache and a hat. Every bedtime story somehow ends with a castle and a princess who needs rescuing. You know what you’re doing this year, and now the date is close enough that you actually need a plan. That’s where these Mario birthday party ideas come in, because the goal here isn’t to build a theme park in your living room. It’s to pick a handful of moves that read as “Mario” the second a kid walks in, without you losing a weekend to a hot glue gun. Most of what makes this theme work is color, shape, and a few running jokes, not licensed decor you have to track down and pay too much for. Below are twelve setups you can actually pull off, from the front door to the goodie bags, each one built to look sharp in photos and easy to recreate with stuff from the craft aisle or your recycling bin.
1. Build a Warp Pipe Entrance Out of Two Boxes
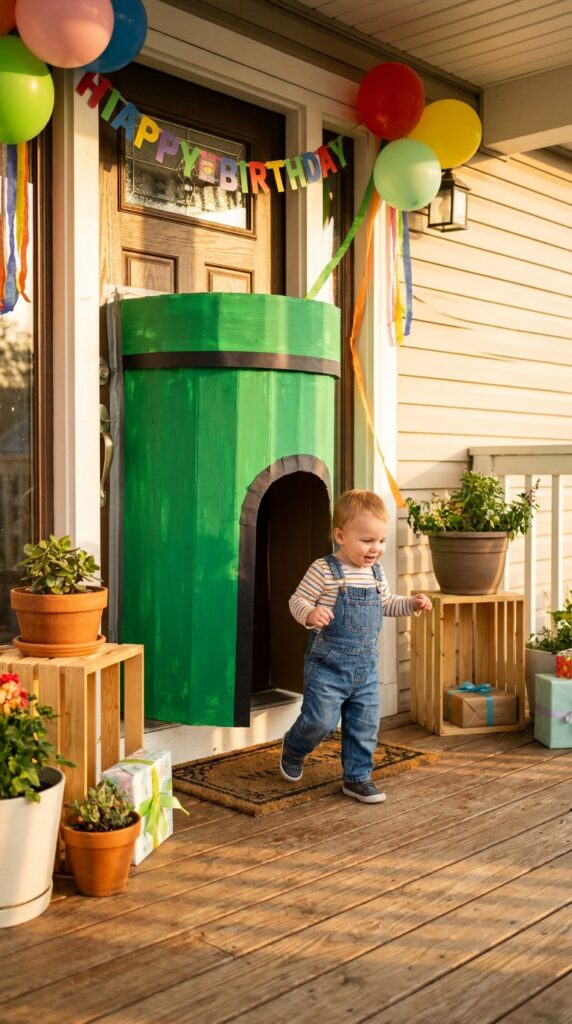
Most front doors just say “come in.” This one says “you’re entering the game.” Wrap a large box in green craft paper or a leftover paint can of green, cut the top and bottom off, and stand it up as a short tunnel your child steps through on the way outside to the party. A second, wider box painted the same green sits around the base to look like the pipe’s lip. Add a strip of black paper around the rim for that hollow, dropping-into-the-level look. The trick that sells it is scale. Keep the pipe a little too big for your kid, the way it always looks in the game.
How to pull it off: Tape two boxes together end to end for extra height if your child is tall for their age, and prop the whole thing against the door frame with painter’s tape so it doesn’t tip when someone leans on it.
A plain front door with a paper banner taped above it.
A green pipe tunnel guests actually step through to enter the party.
2. Turn a Piñata Into a Question Block With One Yellow Sticker Sheet
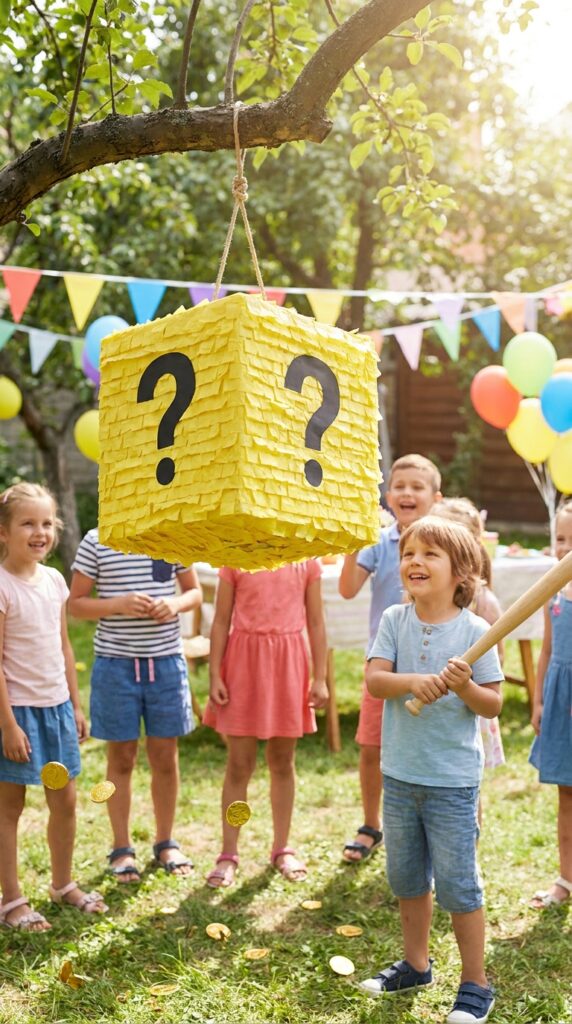
Skip the character piñata and go simple instead. A plain square or cube piñata, painted or covered in yellow paper, becomes a question block the second you add a black question mark on each side. Cut the marks from black cardstock rather than freehand drawing them, since a clean straight-edged mark reads better in photos than a wobbly marker version. Hang it at a height your youngest guest can still reach with the bat, not the height that looks best on camera.
Here’s the part parents usually get wrong. They fill it with candy that ends up on the ground in three seconds and forgotten in ten minutes.
- Fill the bottom third with small toys, stickers, and coins instead of only candy.
- Add a few slips of paper with a “power up” written on them, redeemable for an extra turn at another game.
- Keep one string loose so an adult can control how fast it opens.
💡 Quick Tip
Skip store bought pull-string piñatas for younger kids. A basic cardboard box piñata with a bat works fine for ages three to six and costs almost nothing to build.
3. Skip the Character Balloons and Go With a 1-Up Mushroom Arch
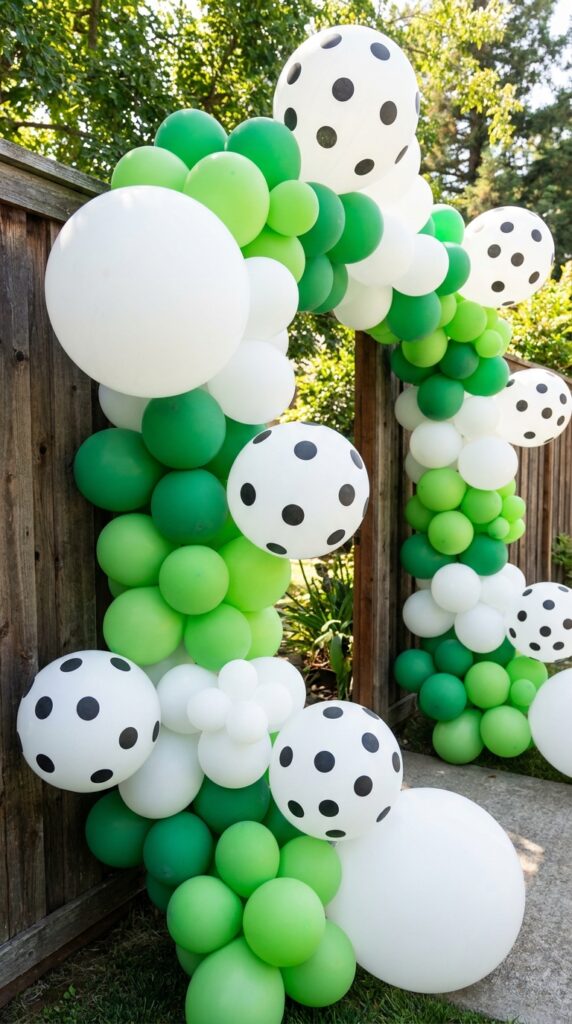
Licensed character balloons are pricey and often sell out fast the week before a party. A shortcut that looks just as good in photos is a plain balloon arch in white and green, with a few oversized white balloons scattered through it to stand in for mushroom caps. Add small black dots to a handful of the white balloons with a permanent marker for the mushroom spot pattern. From a few feet away, and definitely in a photo, it reads exactly right.
How to pull it off: Use a balloon arch kit with a strip and glue dots rather than string, since string sags within an hour outdoors and a strip holds its shape through the whole party.
4. Set Up a Coin Toss Corner With Painted Bricks
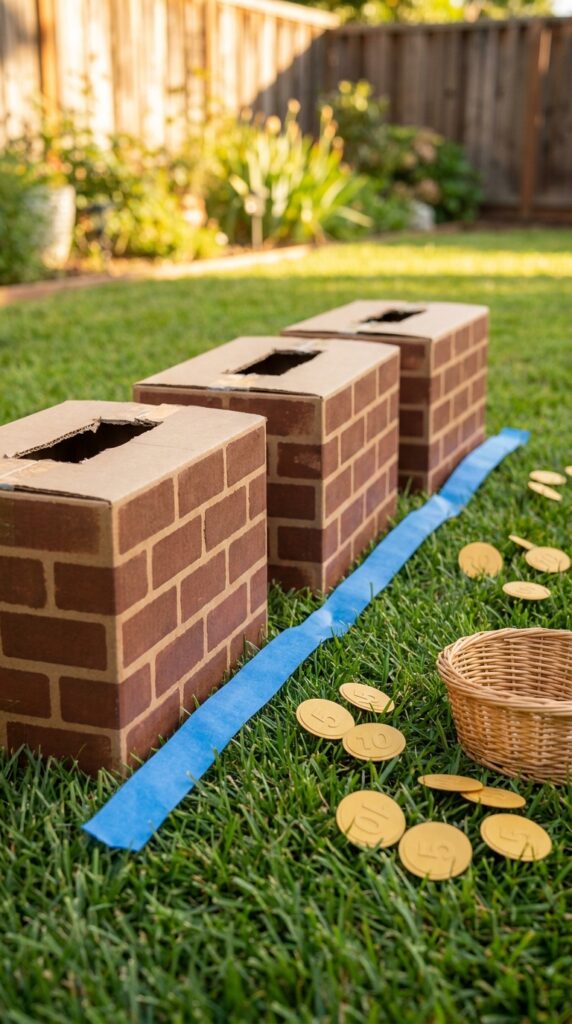
Every kid who loves this game has spent hours jumping to hit blocks for coins, so give them a station where they can actually collect some. Stack a few shoebox-sized boxes, paint them a warm brown or cover them in brick-pattern paper, and cut a coin sized slot in the top of each. Kids toss painted cardboard coins or plastic gold coins into the slots from a marked line on the ground.
- Cut coins from yellow cardstock and trace a simple circle template so they’re all the same size.
- Mark the toss line with painter’s tape, closer for younger kids and farther back for older ones.
- Let each successful toss count toward a small prize, so the game has a payoff, not just repetition.
Who this works best for: kids around five and up who already have the hand eye coordination to enjoy an actual toss rather than getting frustrated by it.
Cut coins from yellow cardstock using a simple circle template.
Mark the toss line with painter’s tape at a fair distance for the age group.
Let coins count toward a small prize instead of ending the game with nothing to show for it.
5. Build a Star Power Photo Corner With Yellow Fabric and Glow
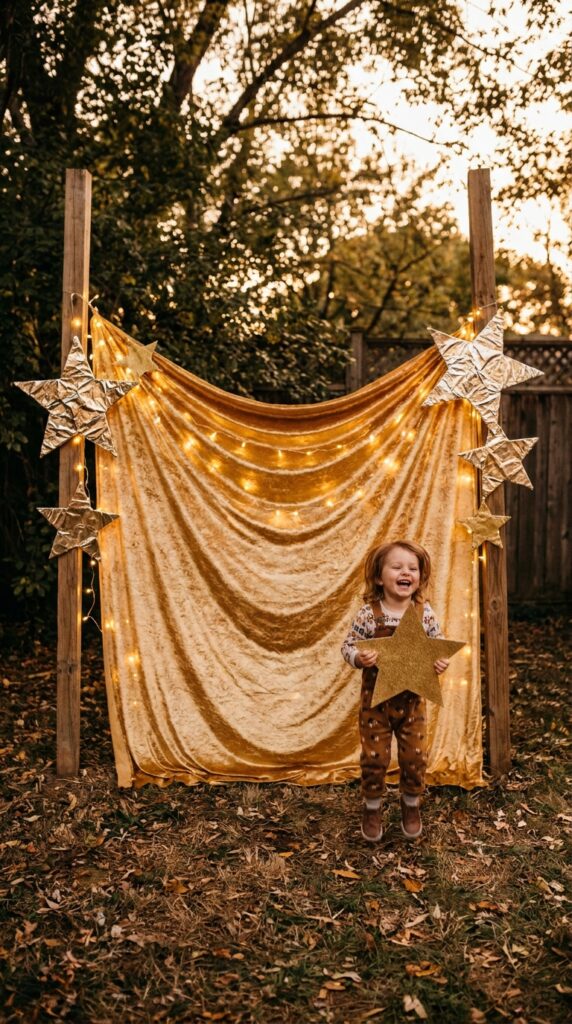
The best part of any party is the ten minutes where every kid wants their photo taken doing something ridiculous, so give them a spot built for exactly that. Hang a length of yellow or gold fabric as a backdrop, add a few oversized cardboard stars covered in yellow foil, and if you can, string some warm fairy lights behind the fabric so it glows a little once it gets dark. Kids can hold a star shaped sign that says “invincible” or jump mid air while you catch the shot.
How to pull it off: Skip glitter on the stars if you’re setting this up outside. It looks great for the first photo and then it’s stuck to every kid’s hands and the frosting for the rest of the day.
Use foil paper or paint for the star shine.
Add fairy lights on a timer so they’re ready before guests arrive.
Loose glitter anywhere near the food table.
A backdrop taped only at the top, since wind will pull it down mid photo.
6. Turn Snacks Into Power-Ups With Simple Labels
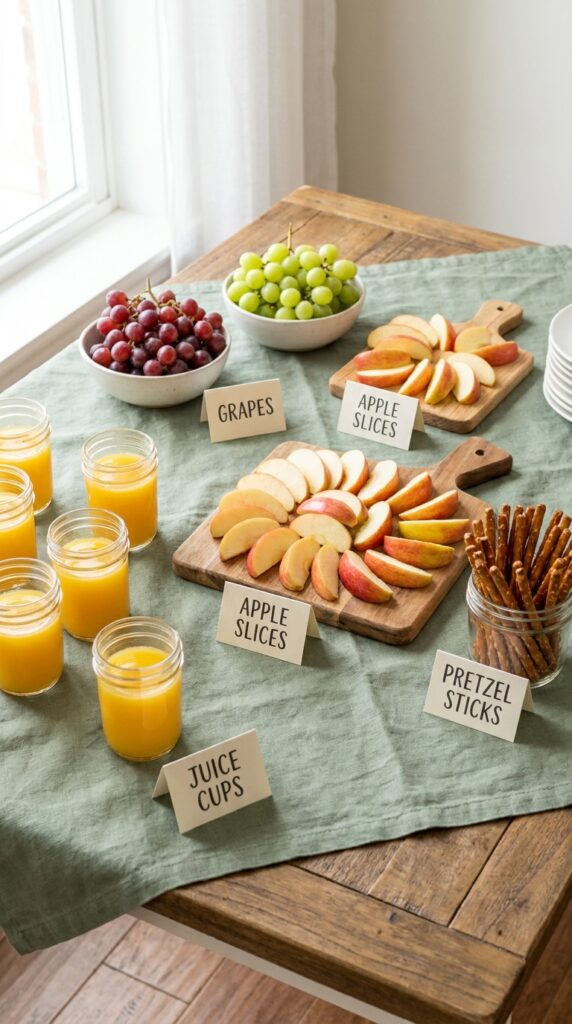
The mistake most parents make with a theme party is trying to make every single snack look like something from the game. That’s a lot of pressure for a Tuesday afternoon of party prep, and honestly it rarely pays off in photos anyway. A better move is to keep the food simple and let the labels do the storytelling.
- Red grapes labeled “fire flowers”
- Green apple slices labeled “1-up boost”
- Small orange juice cups labeled “power potion”
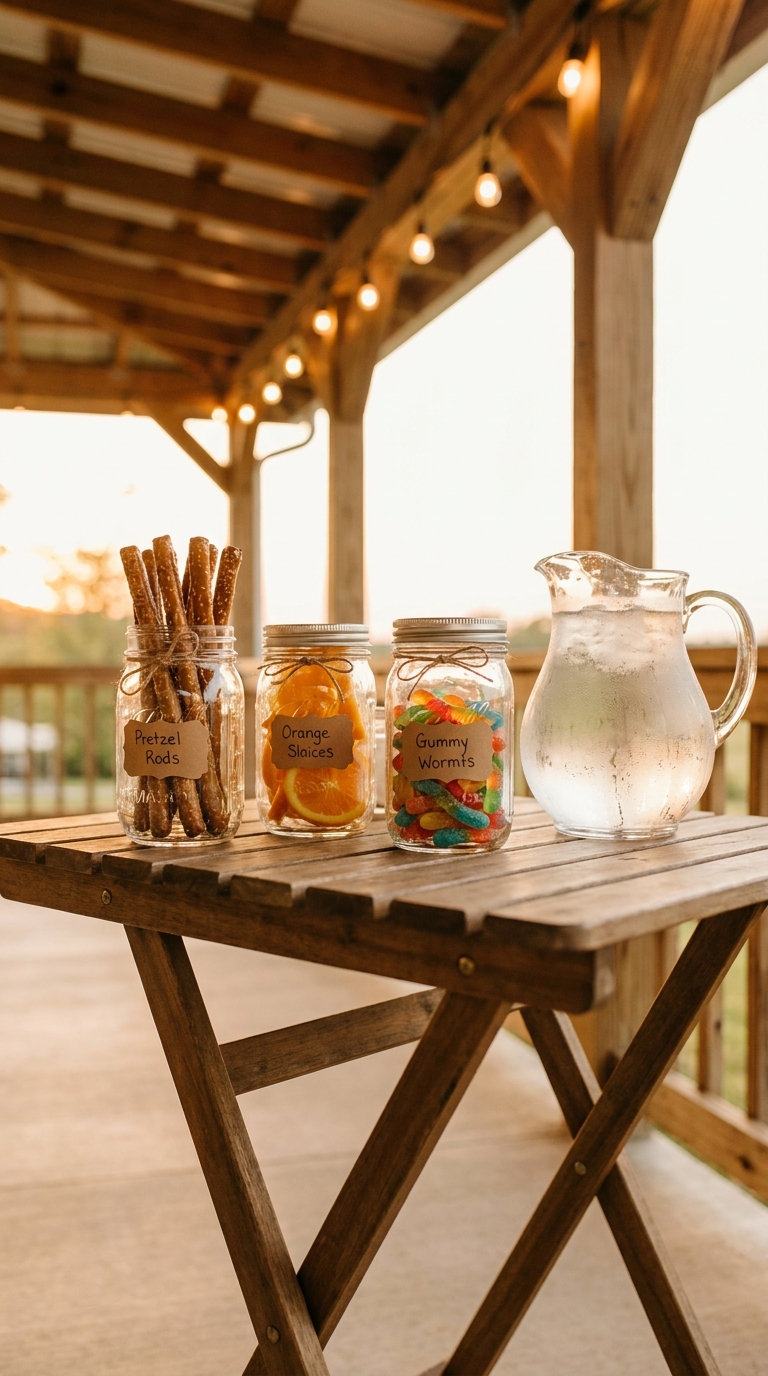
- Pretzel sticks labeled “warp pipes”
Print the labels on cardstock, fold them into little tents, and set one in front of each dish. That’s the whole project, and it takes about fifteen minutes once the food is out.
What to grab first
7. Build a Castle Backdrop for the Cake Table With Foam Board
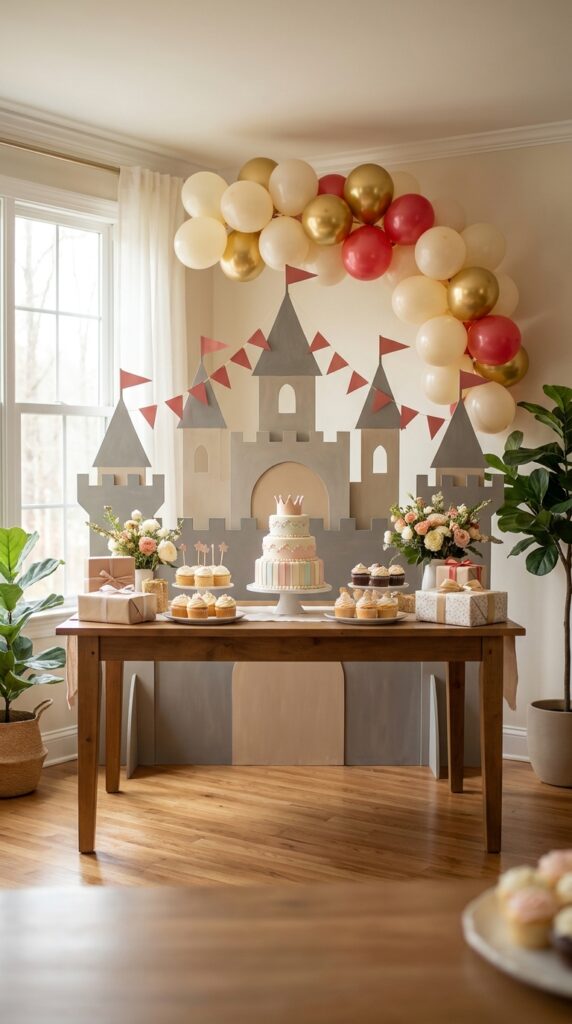
The cake table gets the most photos of the whole party, so this is the one spot worth a little extra effort. Cut a simple castle silhouette from a few sheets of foam board, gray or tan on top, and add block shaped towers along the edges. You don’t need turrets or arches carved in detail. A basic outline with a few flags cut from red paper reads as a castle from across the yard, which is the distance most guests will actually see it from.
This is one of those Mario birthday party ideas that sounds bigger than it is once you break it into pieces.
8. Design an 8-Level Obstacle Course in the Backyard
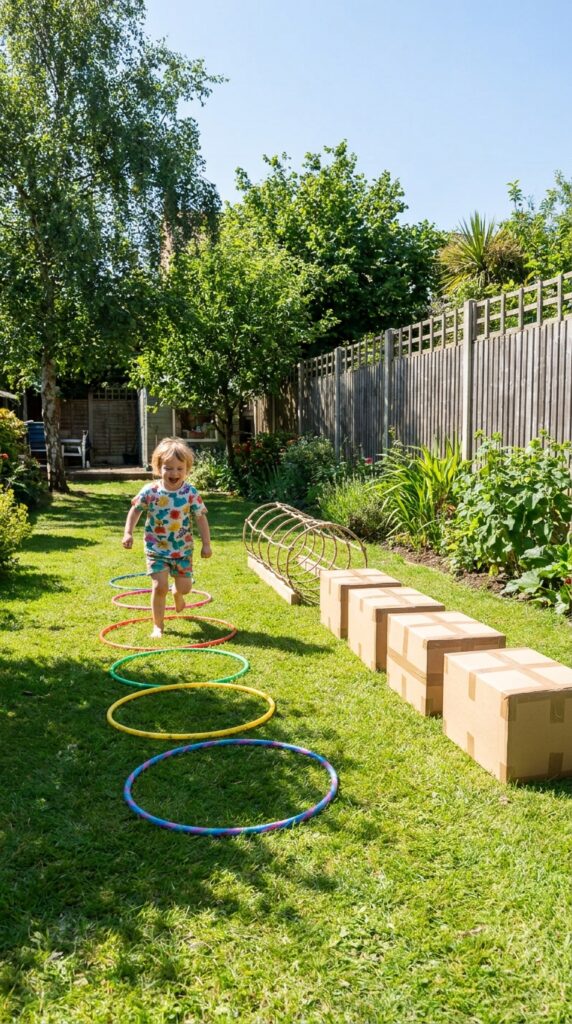
My neighbor did this for her son’s fifth birthday and the kids ran it four times in a row before anyone touched the cake table, so it’s worth the setup time. Mark eight stations around the yard with painted number signs, each one a small physical challenge. Hop between hula hoop “lily pads,” crawl under a low rope, balance across a line of bricks made from taped together boxes, and finish with a jump onto a chalk drawn flagpole.
Pick stations based on the age range you’re hosting so the course actually fits the kids running it.
| Ages 3 to 5 | Ages 6 to 8 |
|---|---|
| Wide hoops set close together | Hoops spaced for a real jump |
| Low crawl tunnel under a rope | Crawl tunnel plus a timed sprint |
9. Add a Stomp Zone With Bubble Wrap “Enemies”
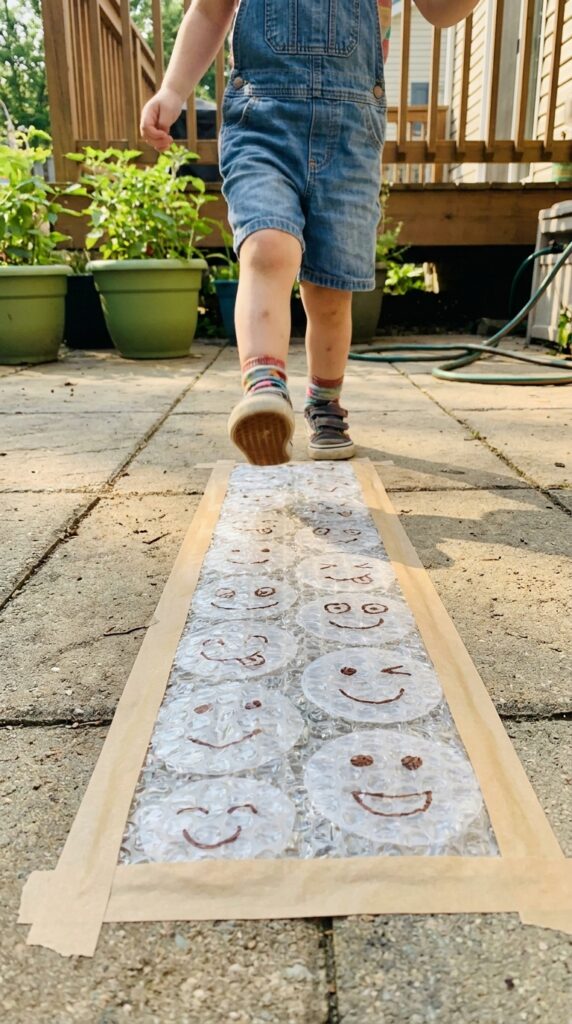
Here’s a rule worth remembering for this whole party: the loudest games are usually the cheapest ones. Tape a row of bubble wrap circles to the ground, drawn on with simple mushroom shaped enemy faces in brown marker, and let kids stomp their way down the row. The pop is satisfying, the setup costs almost nothing, and it gives younger kids a physical game that doesn’t need any coordination at all.
The games with the biggest reaction are often the ones that took ten minutes to set up, not the ones that took three hours.
10. Set Up a Mini Kart Race With Cardboard Boxes
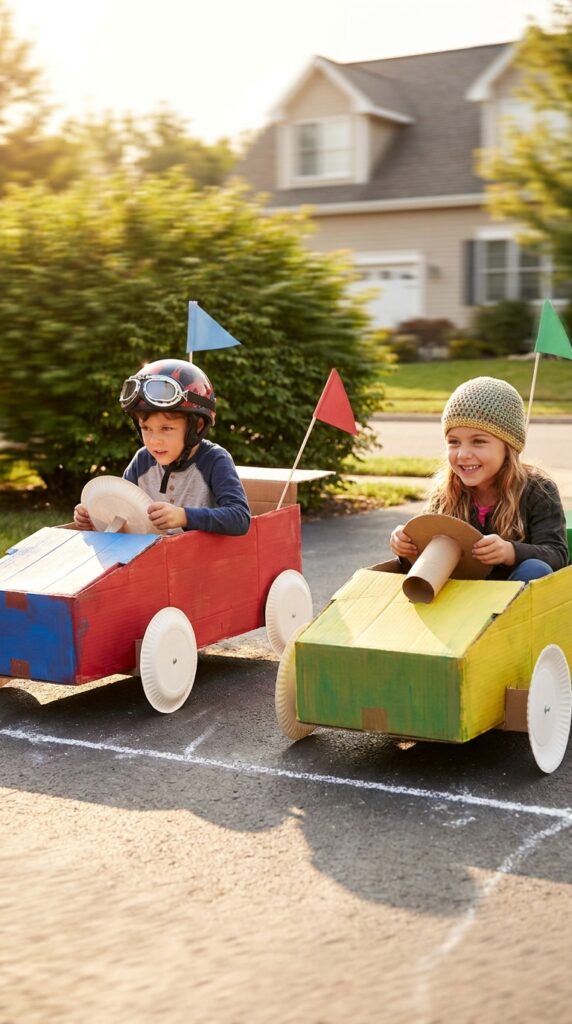
Cut the bottoms out of large boxes so kids can step into them like a kart, add a painted number on the front and a paper steering wheel taped to the rim. Line up a short course with cones or chalk marks and let the kids race in heats of two or three at a time rather than all at once. Racing everyone together at once sounds fun on paper, but it usually just turns into a pile of cardboard and one kid crying near the finish line.
How to pull it off: Reinforce the bottom edge of each box with duct tape so it holds up under a full afternoon of running, since plain cardboard folds after the second race.
📌 Good To Know
Two boxes per kid is smart if you’re expecting a big group. One usually tears by the third heat, and you don’t want to be taping cardboard mid party.
11. Turn One Wall Into a Peach’s Castle Backdrop With Butcher Paper
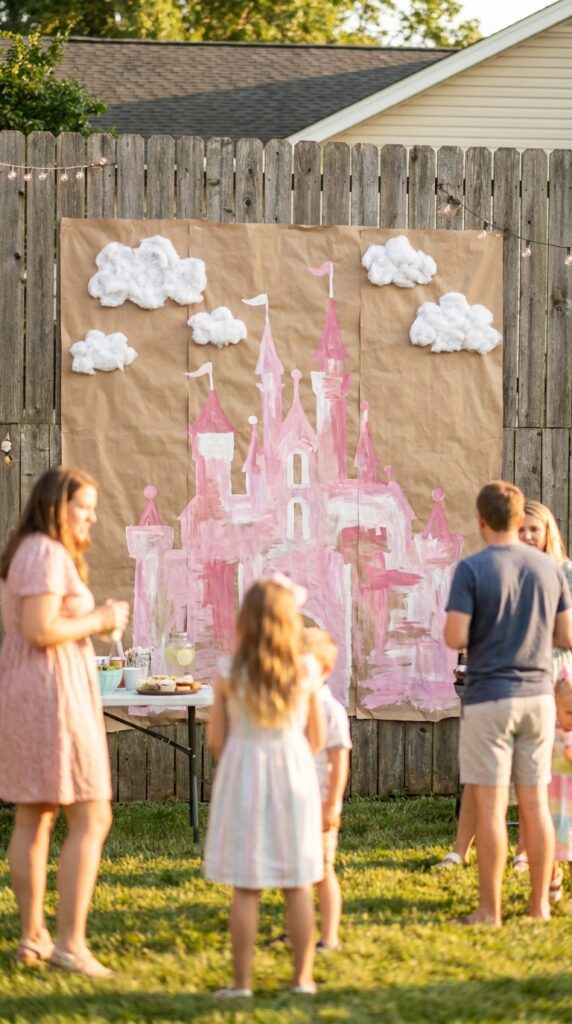
A blank fence or garage wall is the easiest canvas you already own. Roll out wide sheets of butcher paper, paint or draw a simple castle skyline in pink and white, and add a few clouds cut from cotton batting or white paper glued in loose clumps. It takes an afternoon, it costs less than a printed banner, and it holds up fine if you tape the edges down well.
How to pull it off: Prime the wall area with a cheap solid color roll of paper underneath if your fence has visible texture, so the paint sits smoother on top.
A bare wooden fence with nothing on it.
A hand painted pink castle skyline that becomes the main photo backdrop.
12. Send Guests Home With Power-Up Pouches Instead of Plastic Toys
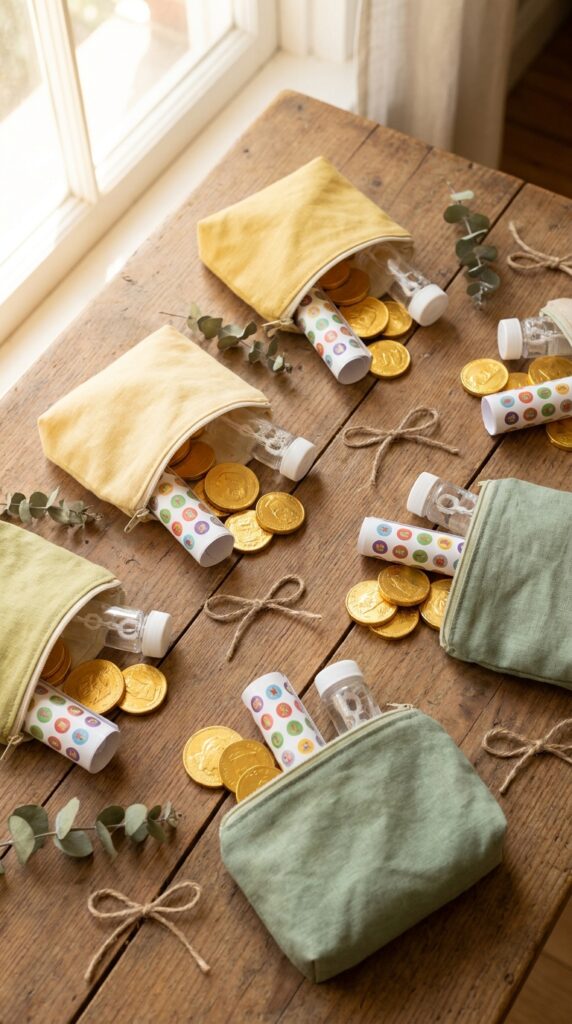
Most goodie bags get opened in the car and forgotten by dinner. A small fabric pouch or paper bag labeled “power up pack” holds up better and gives you a chance to skip the cheap plastic trinkets that end up on the floor within a week anyway.
- A small bag of gold coin chocolates
- A pack of stickers with mushroom and star shapes
- A little bottle of bubbles labeled “star power”
- A folded thank you note from your child
This last stop closes out the Mario birthday party ideas on this list with something that actually gets used at home instead of tossed in a drawer.
What to grab first
Save This For Party Planning Later
None of this requires a party company or a stack of licensed decor to pull off a birthday your kid will actually remember. Pick three or four ideas from this list, not all twelve, and build around whatever your backyard or living room already gives you space for. The pipe entrance and the cake backdrop tend to give the biggest visual payoff for the least effort, so start there if you’re short on time. Save this list of Mario birthday party ideas now so it’s easy to find again once you sit down to plan, and you’ll have a head start the next time a birthday like this one comes around.